
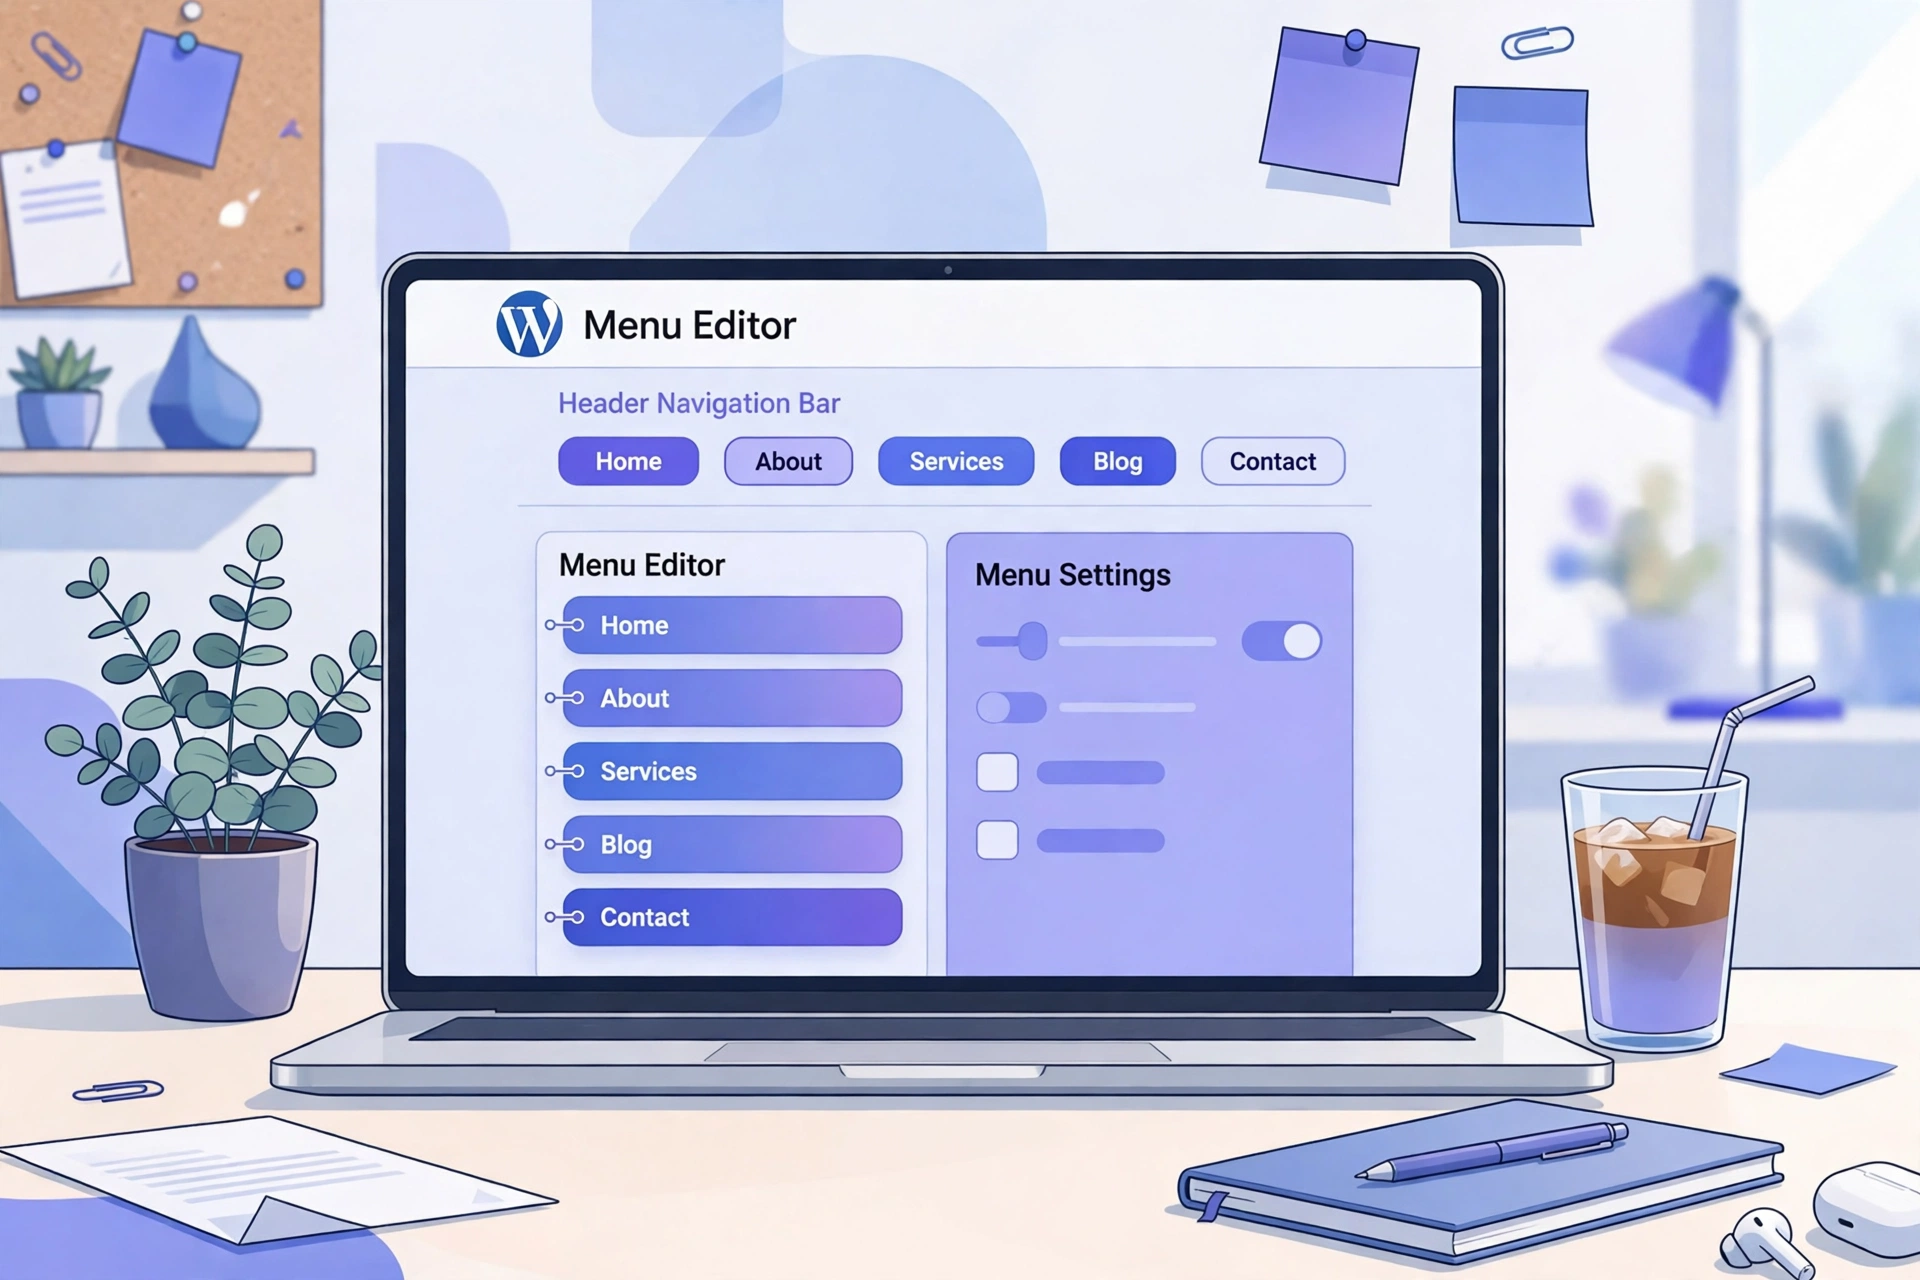
Learning how to add a menu in WordPress is one of the first skills every site owner needs. A menu is the row of links at the top of your site, the links in your footer, and the hamburger icon your visitors tap on a phone. Without it, even great content is hard to find, and visitors leave after a few seconds because they cannot see where to go next.
The good news is that menus are a free core feature of WordPress. You do not need a plugin, a paid theme, or any code. WordPress has included custom menus since version 3.0. This guide shows how to add a menu in WordPress on both kinds of theme, place it in the header and footer, build dropdowns, and make it work on mobile. If you are still setting up your site, read our guide on how to start a WordPress website first.
In this guide
- What Is a WordPress Menu and Why It Matters
- Before You Start: Classic Themes vs Block Themes
- How to Add a Menu in WordPress on a Classic Theme
- How to Add a Menu in WordPress in a Block Theme
- How to Add a Menu in WordPress Using the Customizer
- Adding Pages, Posts, Categories and Custom Links
- Creating Dropdown Sub-Menus That Visitors Can Use
- How to Add a Menu in WordPress to the Header
- How to Add a Menu in WordPress to the Footer
- How to Add a Menu in WordPress for Mobile Visitors
- Styling Your Menu Without Breaking Your Site
- Common Menu Problems and How to Fix Them
- Menu Best Practices for Small and Growing Sites
- Frequently Asked Questions
- BadilHost Verdict
What Is a WordPress Menu and Why It Matters
A WordPress menu is a list of links you build in your dashboard and your theme displays in a chosen place. Each item can point to a page, a post, a category archive, or any URL, including a page on another website. You control the labels, order, and hierarchy. That control is the heart of how to add a menu in WordPress well.
Menus shape how visitors move through your site: a visitor landing on a blog post should reach your services, about, or contact page in one click, and search engines use your menu to judge which pages matter most. That is why how to add a menu in WordPress is worth learning properly — a tidy menu helps your SEO as well as your visitors.
Most small sites need only five to seven top-level links: Home, About, your main services or topics, Blog, and Contact. If a page is not useful enough for the main menu, link to it from inside your content or from the footer.
Before You Start: Classic Themes vs Block Themes
Before you learn how to add a menu in WordPress, you need to know which kind of theme you are using, because the steps are different. WordPress has two menu systems, and both are still part of core in 2026. Your theme decides which one you see.
Classic themes, such as Twenty Twenty-One, Astra, and GeneratePress, use the Appearance > Menus screen. Block themes, such as Twenty Twenty-Four and Twenty Twenty-Five, use the Navigation block inside the Site Editor. Every default theme since Twenty Twenty-Two is a block theme: Editor under Appearance means block, Customize and Menus means classic.
Warning: switching themes resets location assignments — just assign each menu again. You also need an administrator account, since menu editing requires the edit_theme_options capability.
| Feature | Classic theme | Block theme |
|---|---|---|
| Where you edit menus | Appearance > Menus | Appearance > Editor > Navigation |
| How it reaches the page | Assign it to a theme location | A Navigation block in the header or footer template |
| Styling | Set by the theme, with optional custom CSS | Block settings for layout, colours, and spacing |
| Example themes | Twenty Twenty-One, Astra, GeneratePress | Twenty Twenty-Four, Twenty Twenty-Five |
How to Add a Menu in WordPress on a Classic Theme
This is the method most WordPress users still meet first, because classic themes remain very common. The steps below follow the official WordPress documentation for the Appearance Menus screen, checked on 21 November 2026.
Step 1: Open the Menus screen
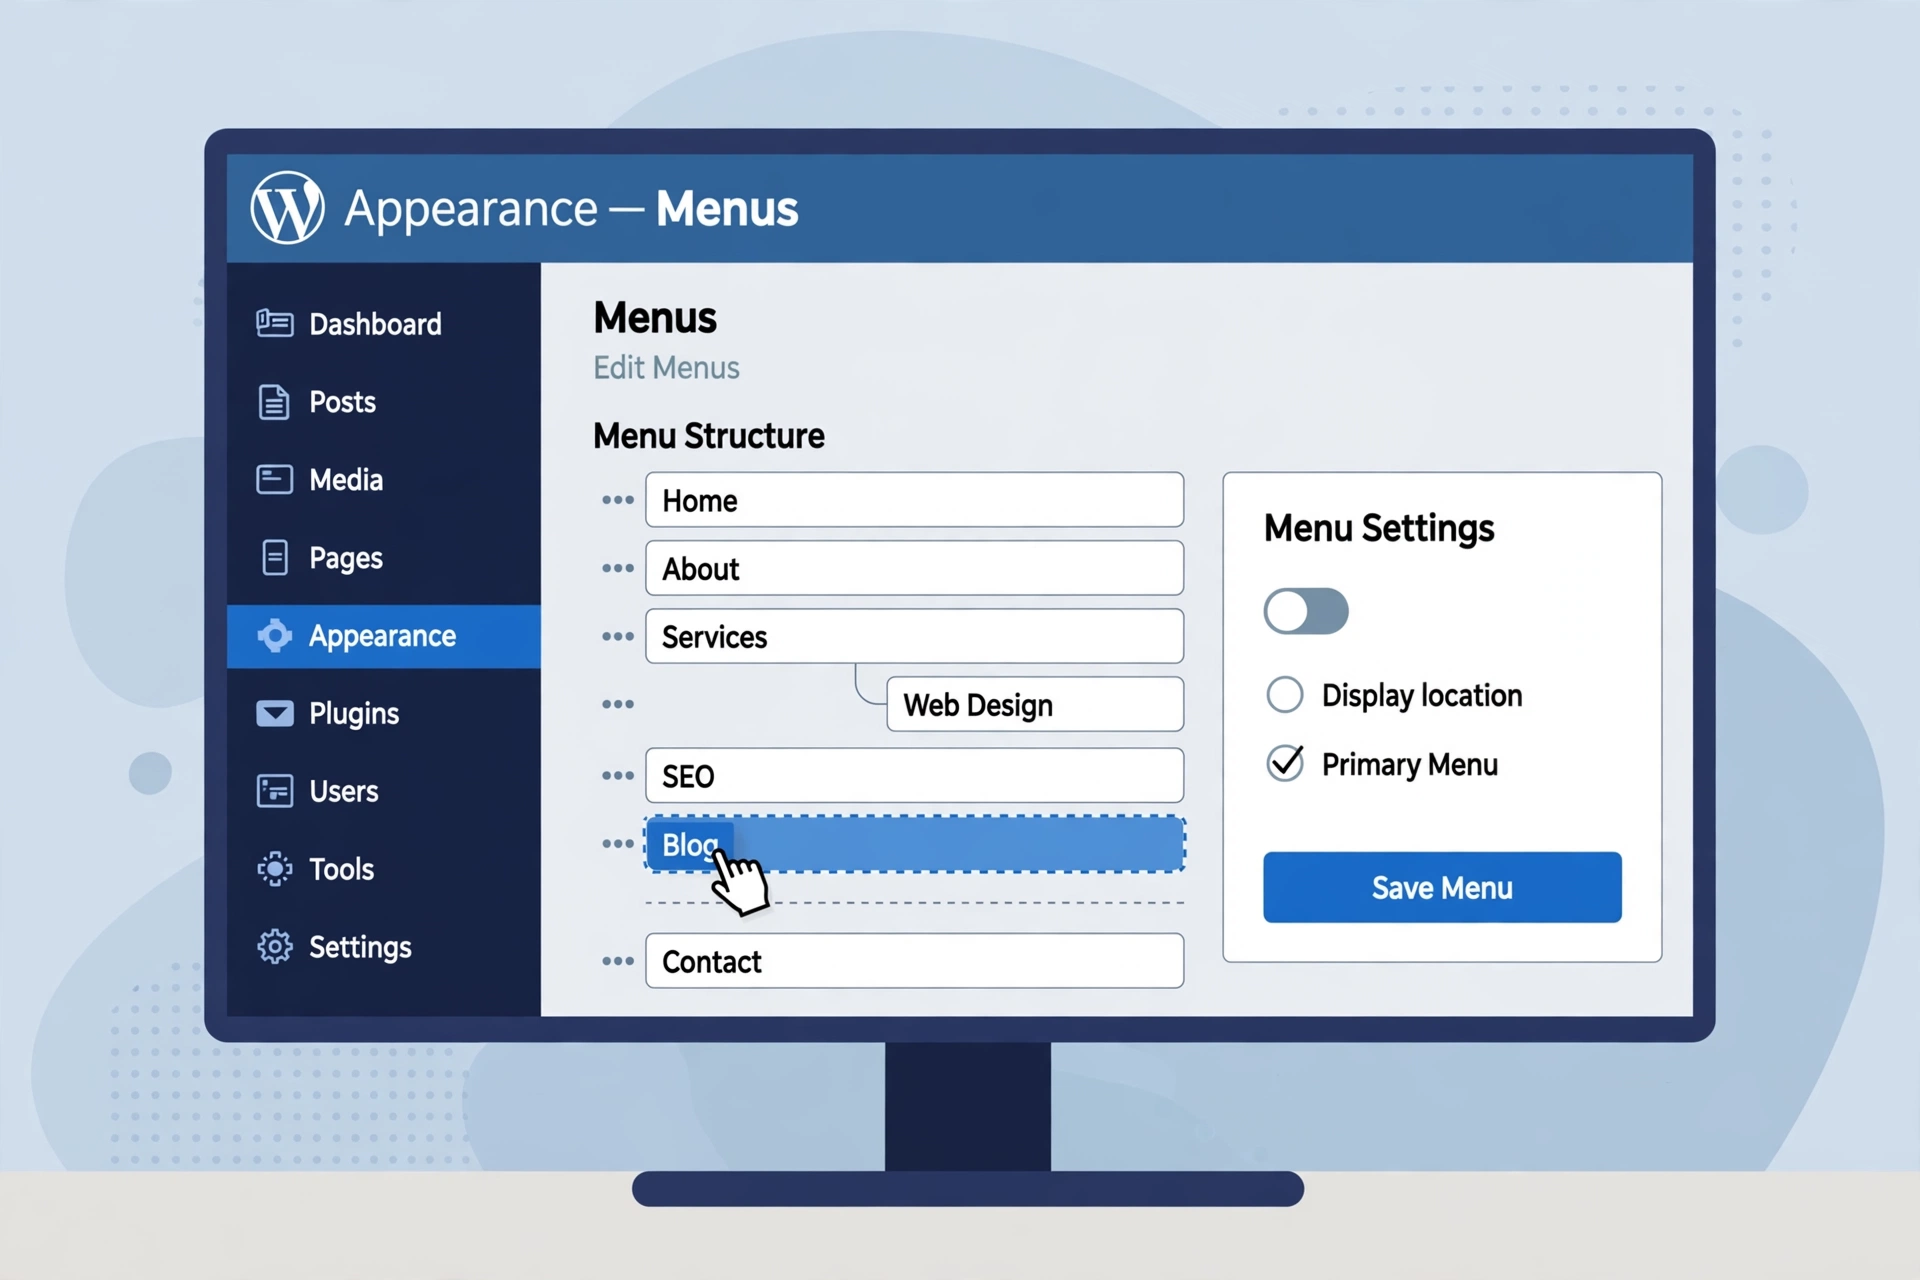
Log in as an administrator and go to Appearance > Menus. If you have never created a menu, the name field is already open; otherwise click create a new menu near the top.
Step 2: Name and create the menu
Type a short name in the Menu Name box, such as Main Menu. Visitors never see it; it only helps you tell menus apart. Click Create Menu, and your empty menu is ready for items. This is the first real step in how to add a menu in WordPress on a classic theme.
Step 3: Add items to the menu
In the left column, open Pages, tick the pages you want, and click Add to Menu; use View All or Search if a page is not listed. A category item links to the archive of every post in that category. For another website, open Custom Links, type the full URL and link text, and click Add to Menu. That is the core of how to add a menu in WordPress on a classic theme.
Step 4: Order the items and save
Drag items in the Menu structure box to set their order, tick a display location such as Primary Menu under Menu Settings, then click Save Menu. A menu with no location stays saved but invisible — the most common reason a new menu seems missing after you learn how to add a menu in WordPress.
How to Add a Menu in WordPress in a Block Theme
If your theme is a block theme, there is no Appearance > Menus screen by default. WordPress 5.9 was the last version to include that screen for all sites, and since WordPress 6.0 block themes manage navigation through the Navigation block. The block method is visual, and you see your menu change as you edit it.
Step 1: Open the Site Editor
Go to Appearance > Editor, which opens the Site Editor for the parts of your site that appear on every page, such as the header and footer. Click Navigation in the left panel to see your menus and their items. This is where learning how to add a menu in WordPress in a block theme begins.
Step 2: Open the header template part
Open the header template part and click the Navigation block inside it. If there is no Navigation block yet, click the plus icon, search for Navigation, and add one. Each Navigation block displays one menu at a time, and the same menu can appear in several templates and stay in sync.
Step 3: Add and arrange items
Click the plus icon inside the Navigation block to add a link: search for an existing page or post, paste any URL as a custom link, or create a new draft page on the spot. Press Enter after each item to add the next one, then drag items into place using List View.
When you first add a Navigation block with no existing menu, it starts with a Page List block listing published pages automatically. To take manual control, select it, click Edit, and confirm; WordPress turns each page into its own Page Link block. This is the block-theme version of how to add a menu in WordPress.
Step 4: Save your changes
Click Save at the top right of the Site Editor. Your header menu updates on every page using that header template part — the last step in how to add a menu in WordPress in a block theme. If you built a menu with a classic theme before, select the Navigation block, open its menu options, and choose Import classic menus instead of rebuilding it.
How to Add a Menu in WordPress Using the Customizer
The Customizer is the third way to build a menu on a classic theme, and the best choice when you want to see changes as you make them. Go to Appearance > Customize, then Menus. Click Create New Menu, type a name, tick a location, and click Next. That live preview is a useful shortcut for how to add a menu in WordPress without guessing how it will look.
Click Add Items and choose pages, posts, categories, or a custom link. The live preview updates with every item, so you can judge spacing at once. Drag items to reorder them, then click Publish. The Customizer edits the same menus as the Menus screen. It is not available in block themes — use the Site Editor there instead — but it is a handy way to learn how to add a menu in WordPress with a preview.
Adding Pages, Posts, Categories and Custom Links
Whatever method you use, the building blocks are the same, and this is where how to add a menu in WordPress gets practical. Pages are the most common items: Home, About, Services, Pricing, and Contact belong in a menu because visitors expect them there. Posts work the same way when one article deserves a permanent place.
Categories group posts by topic: a Tutorials category linked in the menu sends visitors to an archive of every tutorial at once. Fix thin categories before linking them.
Custom links are for anything else: another website, a login page, a booking tool, or an anchor such as #contact. Type the full URL, including https://, and give it a short label.
You can change the label of any item without changing its destination. On the classic Menus screen, click the arrow on an item and edit Navigation Label. In the Navigation block, select the item and edit the Text field in the Content tab. Short labels work best.
Creating Dropdown Sub-Menus That Visitors Can Use
A dropdown, or sub-menu, groups related links under one parent item: Services can hold Web Design, SEO, and Maintenance; Blog can hold Tutorials, News, and Case Studies.
On a classic theme, drag a child item slightly to the right, under its parent, until it indents. Stop at two levels: a third level is nearly unusable on a phone.
In a block theme, select the parent item and click Add submenu, then add the child links. Under Submenu visibility, choose hover or click; click is safer on touch screens. Test every dropdown on desktop and phone, and shorten labels or split the group if a child link is hard to reach. That test completes how to add a menu in WordPress with dropdowns that visitors can actually use.
How to Add a Menu in WordPress to the Header
The header menu is the main menu, and it is the first menu most sites need. On a classic theme, create it at Appearance > Menus, then assign it to the Primary, Header, or Main Menu location under Menu Settings. The exact name depends on your theme.
If your theme offers several locations, use the Manage Locations tab. It lists every location on one screen, with a dropdown for each. Choose a menu for each location and click Save Changes; each location holds one menu at a time.
In a block theme, the header menu is the Navigation block inside the header template part: open Appearance > Editor, open the header, and choose or create the menu. Keep it short — five to seven top-level items. That is how to add a menu in WordPress to the header in a block theme.
How to Add a Menu in WordPress to the Footer
A footer menu serves a different purpose from the header. The header holds the pages visitors need first. The footer holds Privacy Policy, Terms, Disclaimer, Sitemap, and links to your main categories.
On a classic theme, create a new menu named Footer Menu, add your legal and secondary pages, and assign it to the Footer or Secondary location. If your theme has no footer location, show it with the Navigation Menu widget in a footer widget area, or with a Navigation block in a footer template part.
In a block theme, add or select a Navigation block inside the footer template part, choose the footer menu, and set its layout to horizontal or vertical. Do not copy the header menu item for item; use the footer for the links that support trust. The same steps show how to add a menu in WordPress to the footer in either theme type.
How to Add a Menu in WordPress for Mobile Visitors
More than half of most sites’ visitors arrive on a phone, so the mobile menu deserves as much care as the desktop one. You rarely need a separate mobile menu; the same menu adapts. Knowing how to add a menu in WordPress for mobile visitors means checking that adaptation, not building a second menu.
On a classic theme, your theme decides what happens on a small screen. Many collapse the header menu into a hamburger icon automatically; some register a separate Mobile location, where a shorter menu of five or six items works best.
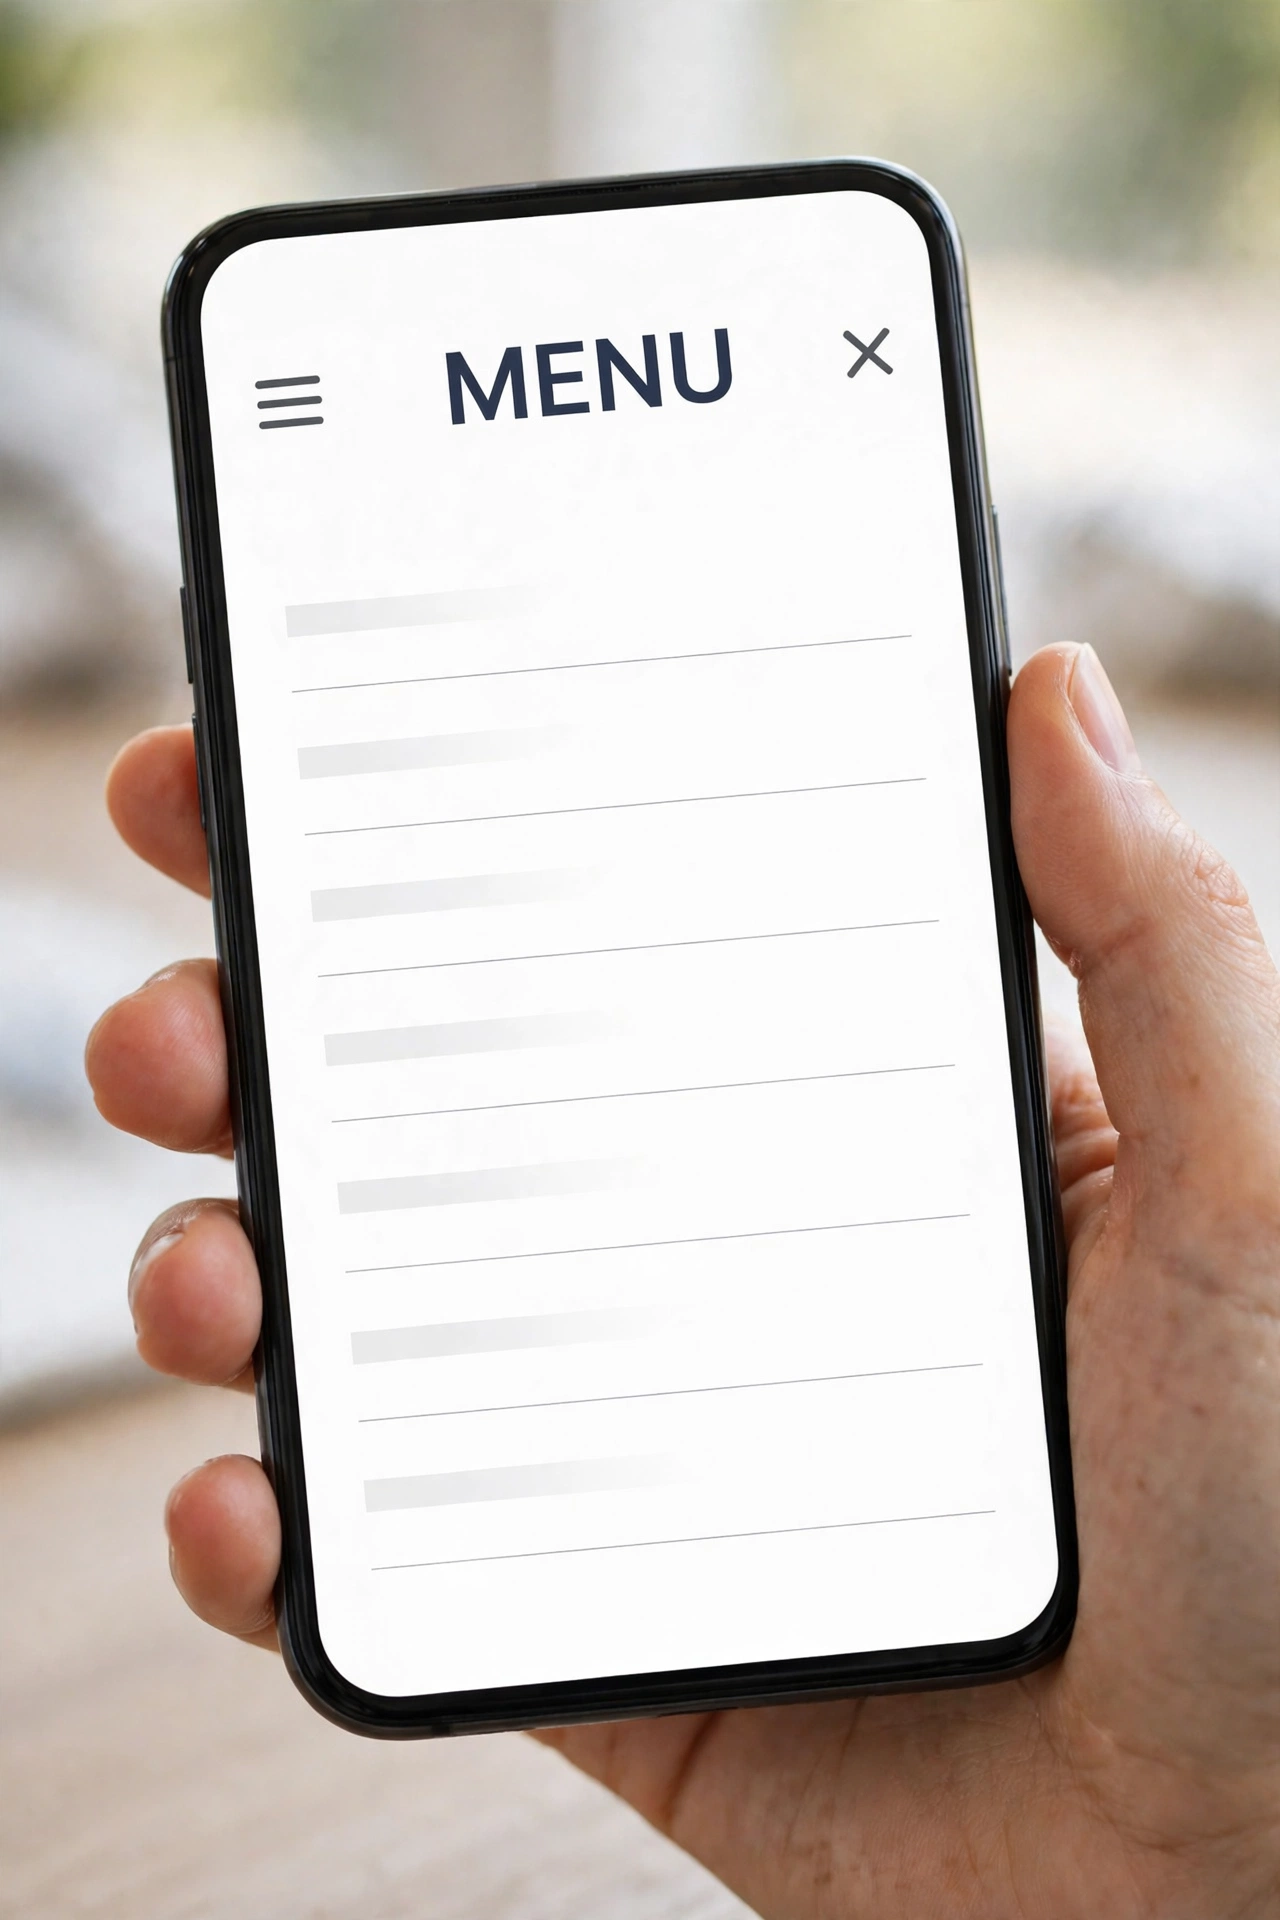
In a block theme, select the Navigation block in the header and open Settings. Under Overlay visibility, choose Off (never collapse), Mobile (a menu icon on smaller screens), or Always (the icon at every size). For most sites, Mobile is right.
When a visitor taps the icon, WordPress opens an overlay, a full-screen panel with a vertical list of your items. Check it on a real phone, not only in the editor preview: tap through the submenus, confirm the close button is easy to find, and make sure the menu does not cover your logo. If pages feel sluggish, the menu is rarely the cause — read our guide on how to speed up WordPress.
Styling Your Menu Without Breaking Your Site
Styling comes after you know how to add a menu in WordPress: a menu should match your site, but not fight it. In a block theme, select the Navigation block and use the Styles tab to change colours, typography, and spacing. Keep the text large enough to read, with enough space and high contrast.
On a classic theme, your theme controls most styling. You can add a CSS class to one item via Screen Options > CSS Classes. That lets you highlight one item, such as Get Started, without changing the whole menu.
For deeper changes, use a child theme rather than editing theme files directly, since an update would wipe your edits. Our guide on how to create a WordPress child theme shows the safe way, and GeneratePress vs Astra vs Kadence covers how each theme handles menus. One accent colour, one hover state, and consistent spacing beat five colours and three font sizes.
Common Menu Problems and How to Fix Them
Most menu problems have a simple cause, and most appear right after someone first tries how to add a menu in WordPress. Work through the table below before installing a plugin, because a plugin rarely fixes a wrong setting — and the first check, whenever you learn how to add a menu in WordPress and it does not appear, is whether the menu is assigned to a location.
| Problem | Likely cause | Fix |
|---|---|---|
| Menu does not appear on the site | It is saved but not assigned to a location | Assign it under Menu Settings or on the Manage Locations tab, then save |
| Appearance > Menus is missing | You are using a block theme | Use Appearance > Editor > Navigation and the Navigation block instead |
| Menu shows all pages, not your chosen links | The Navigation block still uses a Page List block | Select the Page List block, click Edit, and confirm to convert it to individual links |
| Dropdown does not open on a phone | Submenus are set to open on hover | Set Submenu visibility to Click in the Navigation block settings |
| Menu items are in the wrong order | The order was never saved, or a new page was auto-added | Reorder the items, turn off “Automatically add new top-level pages”, and save |
| Old menu shows after a theme change | Location assignments reset when the theme changed | Reassign each menu to a location in the new theme |
| Menu looks broken on mobile | Too many top-level items, or the overlay is set to Off | Shorten the menu, set Overlay visibility to Mobile, and test on a real phone |
| A link goes to the wrong page | The URL was mistyped | Open the item, check the URL in the Content tab, and correct it |
Two settings deserve a second look. “Automatically add new top-level pages to this menu” adds every new top-level page when you publish it, and quickly fills a tidy menu with pages you never meant to feature. Turn it off. The other is caching: if the old menu still shows, clear your cache and reload in a private window.
Menu Best Practices for Small and Growing Sites
How to add a menu in WordPress well starts with planning, not assembling by accident. Before you add a single item, write down the five or six pages a new visitor needs most. Those are your top-level items; everything else belongs in a dropdown, in the footer, or in your content. Planning is the quiet half of how to add a menu in WordPress well.
Use plain words for labels. Services, Pricing, Blog, and Contact tell a visitor exactly what they will find. Clever labels such as Our World tell nobody anything.
Review your menu every few months: remove dead links and add new guides that deserve a place. Ten minutes keeps it honest — the last step in how to add a menu in WordPress that stays useful.
Think about the whole site, not only the menu. A contact form visitors can reach in one click is worth more than a menu with ten links, so add one with our guide on how to add a contact form in WordPress. A table of contents helps inside long articles (how to add a table of contents in WordPress), and a sitemap helps search engines (how to add a sitemap to WordPress).
Finally, protect the site behind the menu. Read our WordPress security checklist and WordPress backup guide, and use how to add Google Analytics to WordPress to see which menu links visitors click.
Frequently Asked Questions
Do I need a plugin to add a menu in WordPress?
No. Menus are a free core feature of WordPress, and you do not need a plugin to create a header, footer, or mobile menu. Use Appearance > Menus on a classic theme or the Navigation block in the Site Editor on a block theme. Plugins are only worth considering when you want an advanced mega menu, icons on every item, or a custom mobile drawer that your theme does not provide.
Why is Appearance > Menus missing from my dashboard?
You are almost certainly using a block theme. Since WordPress 6.0, block themes manage navigation through the Navigation block, and the Appearance > Menus screen may not appear at all. Go to Appearance > Editor instead and click Navigation in the left panel. If you are on a classic theme and still cannot see Menus, check that you are logged in as an administrator, because menu editing needs the edit_theme_options capability.
How many items should a WordPress menu have?
Five to seven top-level items is the right range for most small sites. More than that crowds the header, pushes important links off smaller screens, and makes the mobile menu long and hard to use. Put the extra pages in dropdown sub-menus, in the footer menu, or as links inside your content, where visitors will find them in context.
How do I create a dropdown menu in WordPress?
On a classic theme, drag a menu item slightly to the right under its parent on the Appearance > Menus screen, then save. In a block theme, select the parent item in the Navigation block and click Add submenu, then add the child links. Set submenus to open on click rather than hover if your visitors use phones, because touch screens have no hover.
Can I use the same menu in the header and the footer?
You can, but you usually should not copy it exactly. The header and the footer serve different visitors at different moments. Build a second menu for the footer with your legal pages, your sitemap, and your main categories, and keep the header for the pages a new visitor needs first. In a block theme, one Navigation menu can be reused in several template parts if you do want the same links in two places.
Why does my menu not show after I save it?
The most common cause is that the menu is saved but not assigned to a location. On a classic theme, tick a display location under Menu Settings or use the Manage Locations tab, then click Save Menu. On a block theme, check that the Navigation block in your header template part is set to display the menu you edited. If it still shows the old menu, clear your site cache and reload the page in a private window.
BadilHost Verdict
BadilHost Verdict: Learning how to add a menu in WordPress takes about ten minutes, costs nothing, and needs no plugin. Start by checking whether your theme is classic or block, because that decides the whole route: Appearance > Menus for classic themes, and the Navigation block in the Site Editor for block themes. Build one short header menu with five to seven clear links, add a separate footer menu for legal and secondary pages, and set the mobile overlay to show on small screens. Test the menu on a real phone, keep the labels plain, and review the links every few months as your site grows. A menu that is short, honest, and easy to tap is one of the cheapest improvements you can make to any WordPress site.