
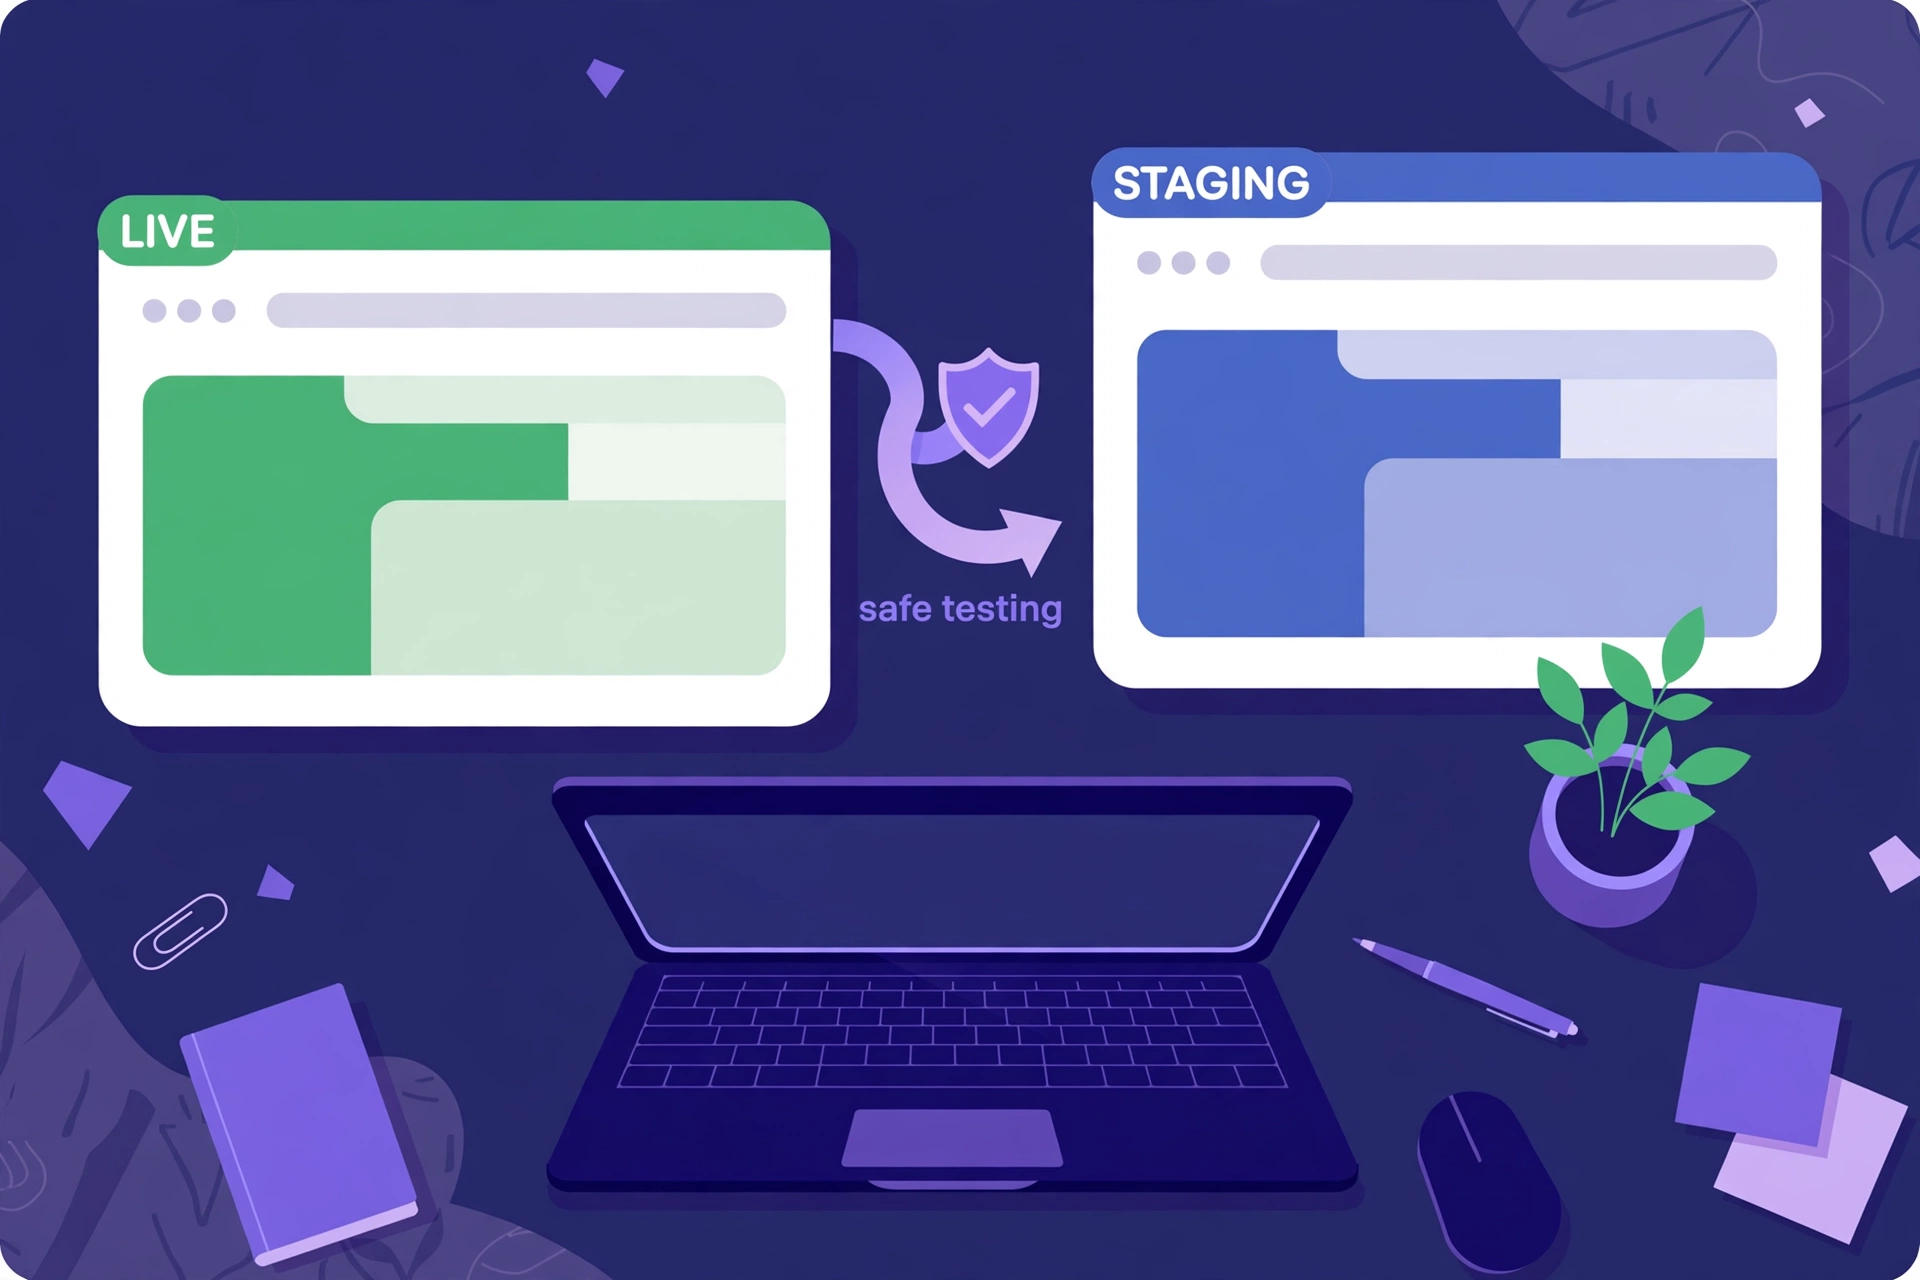
A WordPress staging site is a private copy of your live website where you can test updates, redesigns and new plugins without risking your live site. If a plugin update has ever broken your homepage, you know why this matters. A wordpress staging site turns that gamble into a safe rehearsal: break things on the copy, fix them there, and only then send the good version live.
In this guide you will learn what a wordpress staging site is, the three ways to create one, and how to push tested changes live.
In this guide
- What a WordPress staging site is and why it matters
- How a WordPress staging site works behind the scenes
- Method 1: Use your host’s one-click staging tool
- Method 2: Create a WordPress staging site with a plugin
- Method 3: Build a manual WordPress staging site on a subdomain
- Comparison table: host staging vs plugin vs manual
- How to push a WordPress staging site to live safely
- Common WordPress staging site mistakes to avoid
- How to keep your WordPress staging site in sync
- Which WordPress staging site setup should you choose?
- Frequently asked questions
What Is a WordPress Staging Site?
A wordpress staging site is an exact copy of your live WordPress site — the same files, database, theme and plugins — at a private address only you can reach, usually a subdomain such as staging.yoursite.com or a subfolder such as yoursite.com/staging.
The copy is not meant for visitors: search engines should not index it, and it should never take payments. Its only job is to be a safe place to experiment — update core, try the new theme, test the risky plugin — while your live site keeps working.
Why Every WordPress Site Needs a Staging Site
Most WordPress disasters are not caused by hackers, but by routine changes made directly on a live site: a plugin update that conflicts with your theme, a PHP change that breaks an old plugin, or a redesign that looks fine on one page and terrible elsewhere.
A wordpress staging site protects you from all three, and it protects your income too: a broken checkout for even one hour can cost more than a year of staging tools. Testing first is cheaper than fixing a live emergency.
Staging also makes you faster: test freely, and you stop hesitating over updates. See our WordPress security checklist for the habits that keep a live site healthy.
How a WordPress Staging Site Works
Every wordpress staging site has two parts: a copy of your files (WordPress, theme, plugins, uploads) and a copy of your database (posts, pages, settings, users, orders).
When a staging tool creates the copy, it rewrites the site address inside the database, so links point at staging instead of live. Good tools also tell search engines not to index the copy, and password-protect it.
Never just duplicate your site into a public folder: an unprotected copy can be indexed by Google, creating duplicate content. A proper wordpress staging site has the right address, the right privacy settings and a clear way back to live.
Method 1: Use Your Host’s One-Click Staging Tool
This is the easiest method, and the one most site owners should use: if your host offers staging, you can create a wordpress staging site in a few clicks, and pushing it live is usually one more click. Staging is often missing from the cheapest plan, so check your own plan first.
Which hosts include staging in November 2026?
| Host | Lowest plan with staging | Notes |
|---|---|---|
| SiteGround | GrowBig ($3.99/mo first 12 months, renews at $29.99/mo) | No staging on StartUp; Git on GoGeek |
| Kinsta | Every plan, from $35/mo ($30/mo billed annually) | Selective push; premium staging $20/mo |
| WP Engine | Every plan, Essential from $28/mo billed annually, first year | Dev, staging and production per site |
| Hostinger | Business plan and above | hPanel tool; auto SSL; up to 15 minutes; no Multisite |
| Cloudways | Every plan, servers from $14/mo (DigitalOcean 1 GB) | Free staging, one-click push and pull |
| Bluehost | Standard plans, per its WordPress hosting page | Via the Bluehost plugin; deploy all, files only, or database only |
| DreamHost | Every DreamPress plan ($14.99/mo first 12 months, then $19.99/mo) | One copy per site; live backed up before publishing |
Two warnings: Bluehost’s plan table lists staging only from Business upward, while its WordPress hosting page says every Standard plan has it — confirm on Starter first. DreamHost’s shared hosting has no one-click staging; it is DreamPress only.
Step-by-step: create staging with your host
- Log in to your hosting dashboard and open the site you want to copy.
- Find the staging option, usually labelled Staging or Create Staging Site.
- Choose a name or subdomain for the copy, such as staging.yoursite.com.
- Click Create and wait. Small sites take a few minutes; large sites take longer.
- Log in to the staging copy, check it matches live, then go to Settings, then Reading, and tick “Discourage search engines from indexing this site”.
Now test freely — none of it touches live until you push it back. Cloudways documents its setup in its official staging guide.
Method 2: Create a WordPress Staging Site With a Plugin
If your host has no staging tool, a plugin fills the gap: it clones your site into a subfolder on the same server, usually with one click, and keeps the copy clearly marked so you never confuse it with live.
The best staging plugins in 2026
WP Staging (free) is the most popular choice, with over 100,000 active installs and a 4.8 out of 5 rating on WordPress.org. The free version creates a clone in a subdirectory, restricts it to administrators and keeps it out of search engines. Pushing changes back to live is paid: Business costs €139 a year for three sites, while Personal at €89 a year does not include push-to-live.
BlogVault is a premium backup service with staging in every plan. It creates the copy on its own servers, and its selective merge lets you push only chosen files or tables. List prices are $99 a year for Personal, $299 a year for Business and $499 a year for WooCommerce, per site, with a 50% first-year discount often running. Staging lasts one day on Personal, 30 days on Business and six months on WooCommerce; there is no free version, only a trial.
InstaWP is best for shareable test copies and client previews: the free tier gives you three sandbox sites that each live for 48 hours, plus a one-time $25 credit. A Sandbox costs $2 a month per site, and built-in staging starts on Pro at $15 a month per site. WPvivid is a free backup plugin that also creates a staging copy; pushing it live needs Pro, from $49 a year for two domains.
Step-by-step: create staging with WP Staging
- Back up your live site first — if you have no backup routine yet, follow our WordPress backup guide.
- In your live WordPress dashboard, go to Plugins, then Add New, and install WP Staging.
- Open WP Staging, then Staging Sites, click Create New Staging Site, name the copy staging, and click Start Cloning.
- Open the staging copy from the link the plugin gives you and log in.
Remember the free version cannot push changes back automatically: upgrade to push, or redo small changes by hand on live.
Method 3: Build a Manual WordPress Staging Site on a Subdomain
The manual method takes longer, but it works on any host and costs nothing extra. Use it when your host has no staging tool.
Step-by-step: manual staging on a subdomain
- Create the subdomain. In your hosting panel, add staging.yoursite.com, point it at a new folder, and add a free SSL certificate.
- Copy the files. Use your host’s file manager or FTP to copy every file from live into the staging folder.
- Copy the database. In phpMyAdmin, export your live database, create a new empty database, and import the export into it.
- Point staging at the new database. Edit wp-config.php in the staging folder with the new database name, user and password.
- Rewrite the URLs. In the staging database, change the siteurl and home values in wp_options to staging.yoursite.com, then search-and-replace any remaining live URLs — on staging only, never on live.
- Block search engines and lock the door. In the staging dashboard, go to Settings, then Reading, tick “Discourage search engines from indexing this site”, then password-protect the subdomain.
- Log in and verify. Open staging.yoursite.com/wp-admin and check the homepage, a post and the contact form. Broken images mean a URL was missed in step 5.
The push back to live is manual too: copy changed files over and import the changed tables, or redo the changes by hand. That is why most owners should prefer Method 1 or 2. The same skills apply if you ever move a site — see our guide to migrate a WordPress site to a new host.
WordPress Staging Site Comparison: Host vs Plugin vs Manual
| Method | Cost | Difficulty | Push to live | Best for |
|---|---|---|---|---|
| Host one-click staging | Included in your plan, or from $14 a month on Cloudways | Easy — a few clicks | Yes, built in, often selective | Most site owners |
| Staging plugin (WP Staging free) | Free to clone; push from €139 a year (WP Staging Business) | Easy — install and click | Paid plans only | Hosts without staging |
| Staging plugin (BlogVault) | From $99 a year per site ($49.50 first year) | Easy — dashboard-based | Yes, with selective merge | Stores and busy sites |
| Manual subdomain copy | Free, apart from your hosting | Hard — files, database, URLs by hand | Manual copy | Developers; any host |
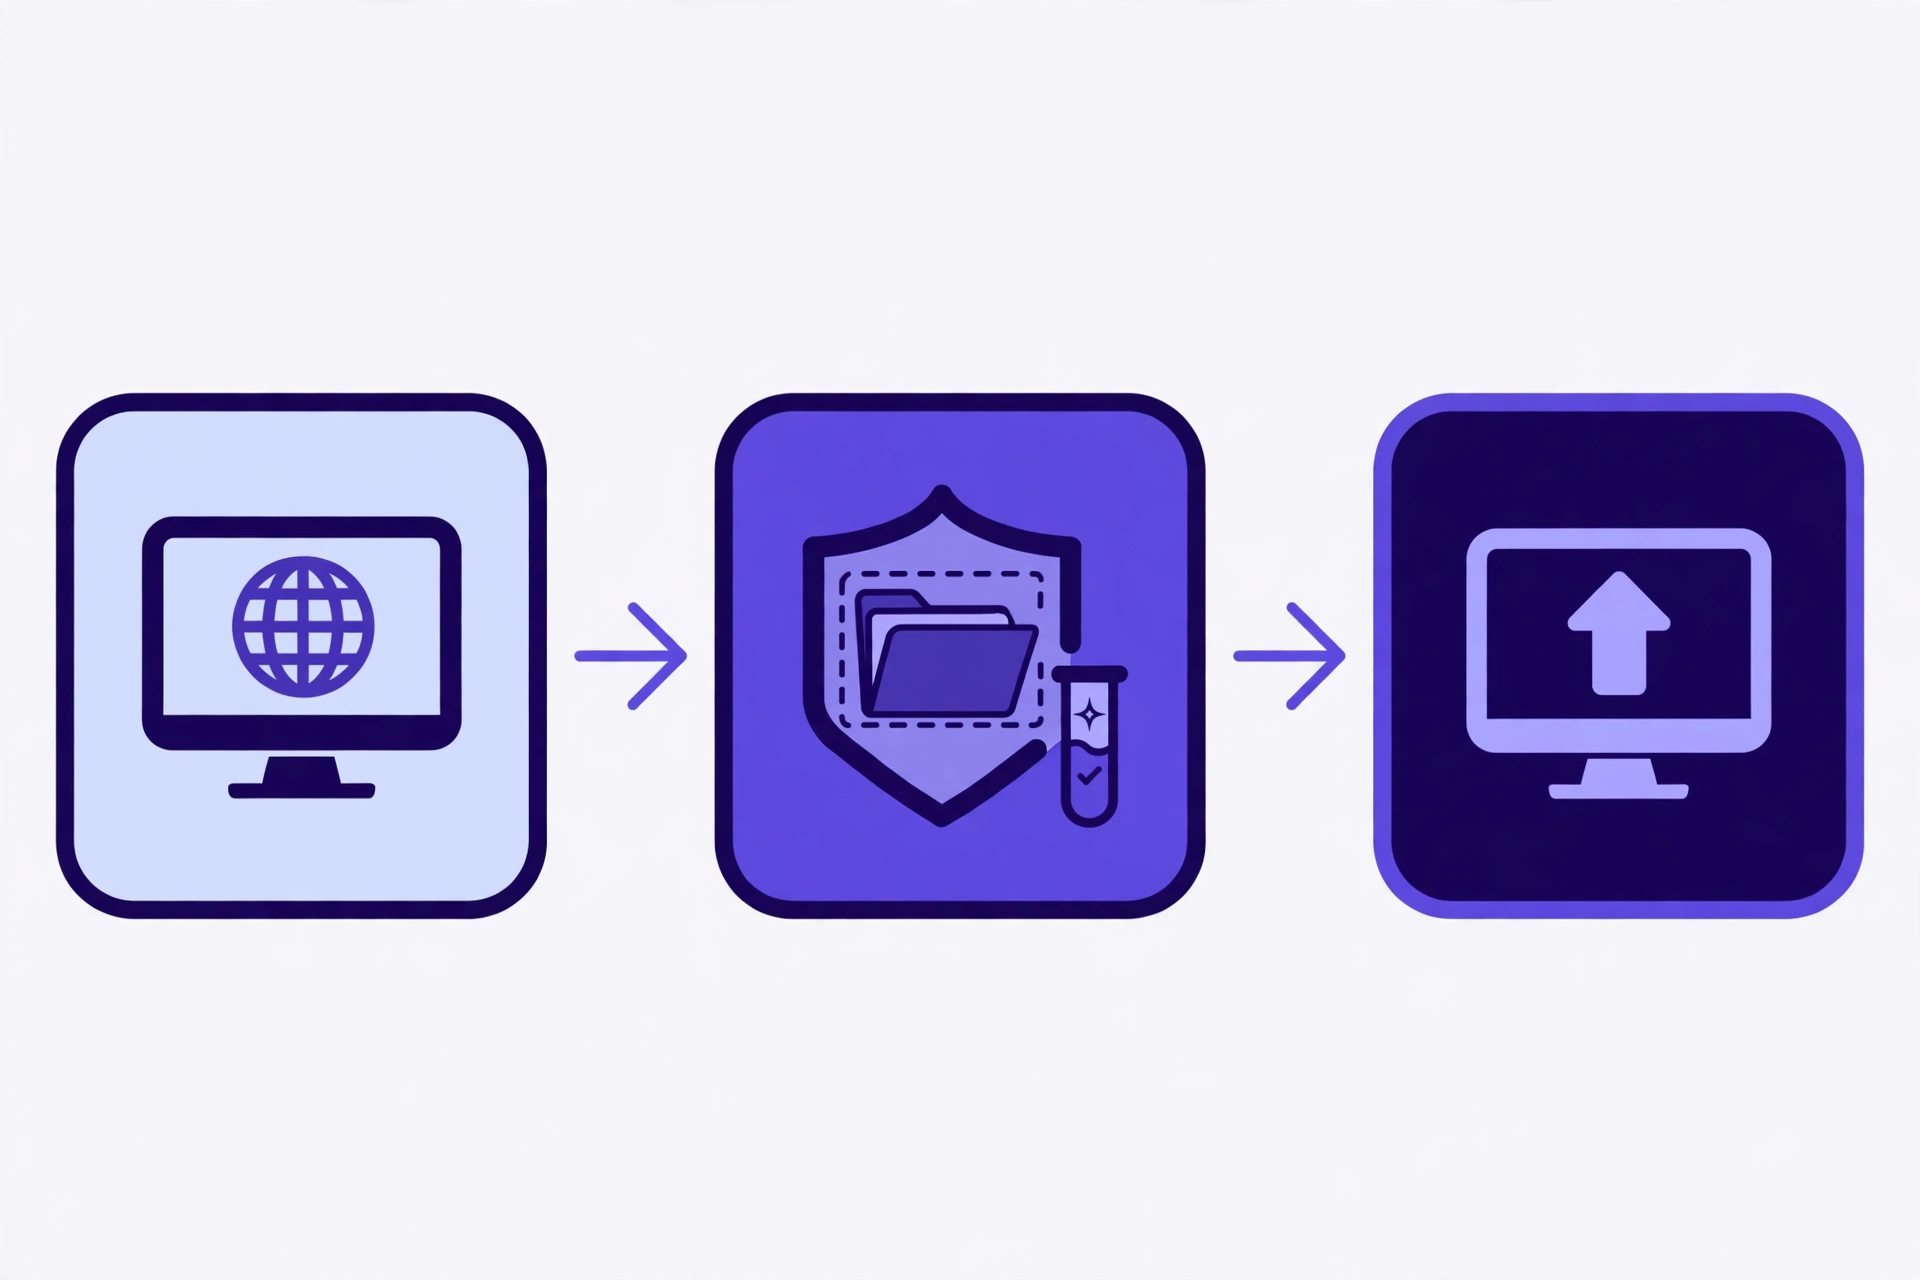
Host staging costs the least effort, plugin staging costs the least money for a quick test, and manual staging costs the least cash but the most time and risk. Choose the method you will actually use.
How to Push a WordPress Staging Site to Live Safely
Pushing is the riskiest step, because it overwrites your live site. Follow this order every time, and never skip the backup.
- Back up live first. Take a fresh backup immediately before the push — an hour-old backup misses the order placed ten minutes ago.
- Freeze live changes. Ask editors not to publish while you push; anything published after the copy was made will be overwritten by a full database push.
- Test on staging one last time. Click through the homepage, a post, the contact form and, for a store, a test checkout — on a phone too.
- Choose what to push. Push files only for a theme or plugin change, and only the tables you changed for a settings change.
- Push, then verify live immediately. Open the live site in a private window, check the pages you changed, clear the cache, and confirm forms and checkout still work.
- Keep the backup for a week. If the push goes wrong, restoring it is a five-minute fix; rebuilding without a backup is a weekend.
If you use AdSense, check that ads still appear after the push — see our guide to add AdSense to WordPress.
Common WordPress Staging Site Mistakes to Avoid
Letting Google index the staging copy
An indexed staging copy creates duplicate content and can outrank your live pages. Always tick “Discourage search engines” on staging and password-protect it.
Pushing a full database over a busy live site
A full push overwrites comments and posts published since the copy was made — and orders, on a store. Push files only, or refresh staging from live just before the push.
Testing with real customer data
A staging copy contains real email addresses and order details. Never send test emails to real customers from it, and delete the copy when the work is done. See our guide on WordPress not sending emails.
Forgetting to sync before you test
A staging copy made three months ago does not test today’s site. Refresh it before any important test, especially a core update or theme change.
How to Keep Your WordPress Staging Site in Sync
A wordpress staging site goes stale fast: posts, comments and orders change on live every day, while staging stands still. Refresh the copy from live before each project, and delete staging when the work is done — old copies eat disk space and become a security risk if their plugins go unpatched. Name things clearly (staging.yoursite.com, not test123) and check plugin updates on staging weekly, as in our how to speed up WordPress guide.
Which WordPress Staging Site Setup Should You Choose?
If your host includes one-click staging, use it: it is built for your server and there is nothing extra to install. Kinsta and WP Engine are the strongest here, Cloudways is the best value for multiple sites, and SiteGround GrowBig is the sensible upgrade from StartUp. If your host has no staging tool, install WP Staging free, and pay for Business at €139 a year only when you need push-to-live regularly. For a store, BlogVault is worth it because its selective merge protects orders.
Frequently Asked Questions
What is a WordPress staging site?
A wordpress staging site is a private copy of your live WordPress site, with the same files and database, where you can test updates, themes and plugins safely. Changes there do not affect live until you push them.
Do I need a staging site for a small blog?
Yes. Small sites break just as easily as large ones, and a single bad plugin update can take a blog offline for a day.
Will a staging site hurt my SEO?
No, if it is set up correctly: a proper wordpress staging site blocks search engines and is password-protected, so Google never indexes it.
Can I create a staging site for free?
Yes. WP Staging’s free version creates a working clone at no cost, and many hosts include staging in plans from $14 a month.
How often should I refresh my staging site?
Refresh it from live before every important test, and delete it when the work is finished — a copy more than a few weeks old no longer represents your live site.
The BadilHost Verdict: A wordpress staging site is the cheapest insurance a WordPress owner can buy. Use your host’s one-click staging if you have it, WP Staging free if you do not, and the manual method only if you enjoy working with files and databases. Always back up live before you push, and refresh staging before every big test.
Prices checked: 20 November 2026. Prices change often, and hosts run promotions — always confirm the current price and renewal terms on the official pricing page before you buy.