

In this guide
- What Custom CSS Is (and What It Can Safely Change)
- Before You Start: 3 Safety Rules
- Method 1: Use the Customizer’s Additional CSS Box
- Method 2: Add CSS to a Child Theme’s style.css File
- Method 3: Manage CSS With the WPCode Plugin
- Method 4: Use GeneratePress Theme Settings for Site-Wide CSS
- Method 5: Style a Single Block With a Custom CSS Class
- How to Add Custom CSS to WordPress: The 5 Methods Compared
- Which Method Should You Choose?
- 7 Common Mistakes to Avoid
- How to Test Your CSS Safely Before It Goes Live
- Frequently Asked Questions
- The Verdict
Learning how to add custom css to wordpress is one of the most useful skills a site owner can pick up. You do not need to be a developer. With a few lines of CSS you can change a button colour, widen your content area, or hide an element your theme cannot remove. This guide shows you how to add custom css to wordpress in five safe ways, explains exactly what survives an update and what does not, and helps you pick the right method for your situation.
Use the table of contents above to jump to the method you need. If your own posts run long, our guide on how to add a table of contents in WordPress shows how to add the same navigation to them.
What Custom CSS Is (and What It Can Safely Change)
CSS (Cascading Style Sheets) controls how your site looks: colours, fonts, spacing, sizes and layout. Your theme ships with its own CSS; custom CSS is a set of extra rules you add on top of it. When two rules conflict, the more specific one wins, so a small snippet can override a theme default without touching the theme. Once you know how to add custom css to wordpress, small design fixes stop depending on your theme’s settings panel.
Custom CSS is ideal for visual tweaks: heading sizes, spacing, button styles, hiding a widget, or fixing a cramped mobile layout. It cannot change how your site works: new features or logic need a plugin or a PHP snippet, not CSS. CSS cannot break your database or delete content. The worst a bad rule does is make something look wrong, and removing the rule fixes it — which makes CSS one of the safest customisations, as long as you put it somewhere update-proof.
Before You Start: 3 Safety Rules
Before you learn how to add custom css to wordpress on a live site, back up your site. A backup turns any mistake into a five-minute fix. If you do not have a backup routine yet, read our WordPress security checklist first.
Second, never edit your parent theme’s files directly. WordPress has a built-in Theme File Editor under Appearance, and it warns you on screen that editing theme files can break your site — the next theme update replaces those files completely, with no copy kept. If a tutorial tells you to edit the parent theme’s style.css, close that tutorial.
Third, test in a preview before you publish: a rule that looks fine on desktop can overlap text on a phone.
Method 1: Use the Customizer’s Additional CSS Box
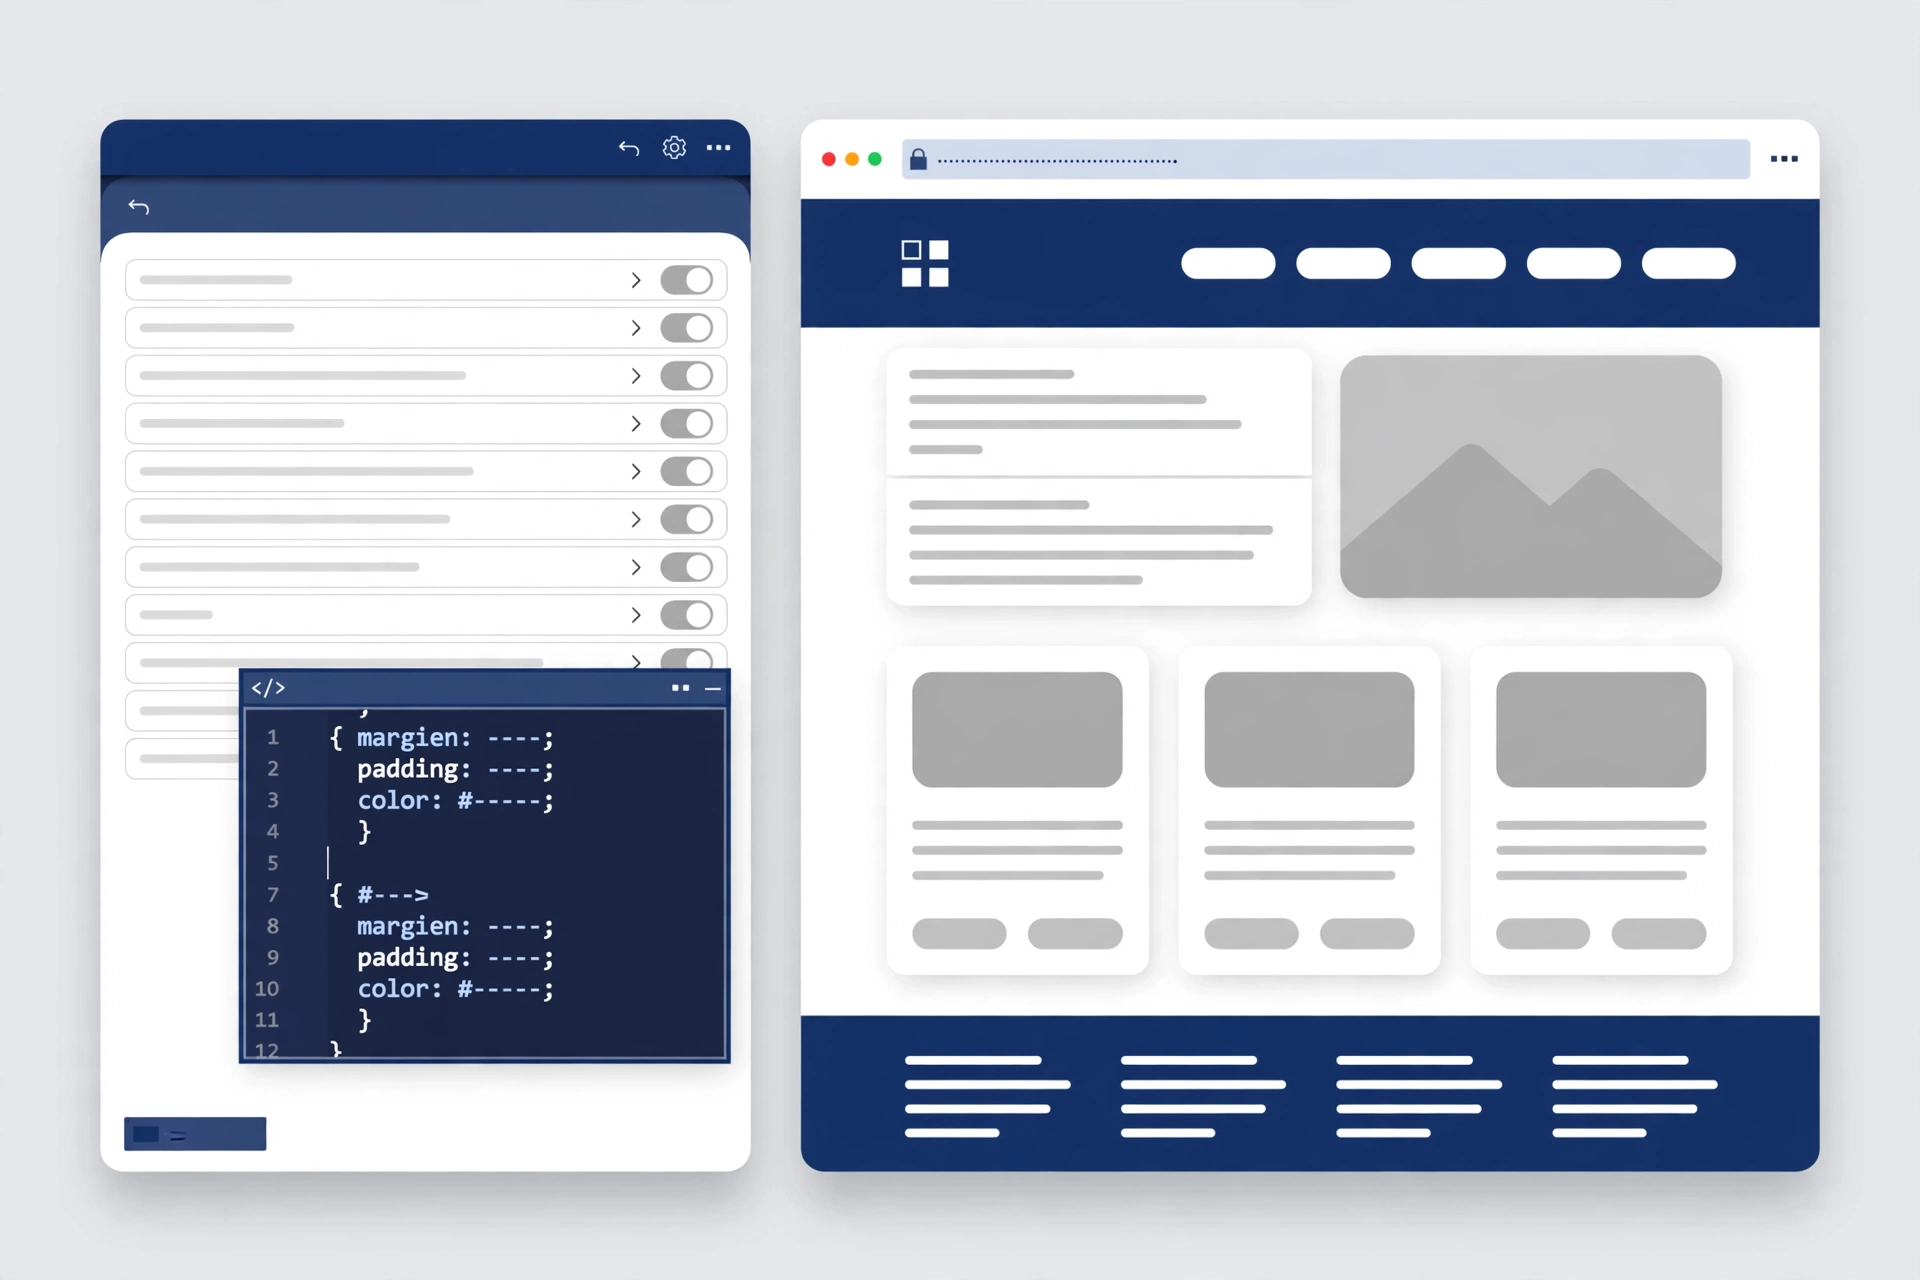
This is the easiest way to learn how to add custom css to wordpress, and for most site owners it is the only method they will ever need. WordPress has shipped the Additional CSS box since version 4.7, so there is nothing to install. On a classic theme such as GeneratePress, go to Appearance → Customize → Additional CSS. Type or paste your CSS, watch the live preview update, and click Publish.
The Customizer also guards against typos: a mistake such as a missing bracket flags the line and blocks Publish until you fix it.
If you are wondering how to add custom css to wordpress on a block theme, the path is different: block themes have no Customize menu item. Go to Appearance → Editor → Styles, open the three-dot menu, and choose Additional CSS. It works the same way, with a live preview.
There is one limit. According to the official WordPress developer handbook, Additional CSS is stored per theme: it survives core and theme updates, but switch themes and your rules stop applying — switch back and they return. For a few tweaks on a theme you plan to keep, that is fine.
Method 2: Add CSS to a Child Theme’s style.css File
A child theme inherits everything from your parent theme. Your CSS lives in the child theme’s own style.css file, in a separate folder, so the parent theme can update as often as it likes and nothing of yours is touched. Developers who know how to add custom css to wordpress at scale usually choose this method: it is the professional home for a large stylesheet and for template changes later.
First, make sure a child theme is installed and active. If you have never set one up, follow our guide on how to create a WordPress child theme — it covers the whole process, including the functions.php file that loads the parent stylesheet. Then open the child theme’s style.css, scroll past the header comment, and add your rules at the bottom.
Edit it through your hosting file manager, an FTP client such as FileZilla, or the Theme File Editor — only while the child theme is active, so you edit your own file, not the parent’s. Save, then hard-refresh your site. Once your stylesheet passes fifty lines, how to add custom css to wordpress becomes a question of organisation, and a child theme answers it better than a single text box. If the change does not appear, clear your cache: a caching plugin or your browser may be serving the old stylesheet.

Method 3: Manage CSS With the WPCode Plugin
If you want to know how to add custom css to wordpress without touching a single theme file, WPCode is the easiest plugin route. It is the most popular code snippets plugin, with 3 million-plus active installations and a 4.9 out of 5 rating on WordPress.org. The free version covers CSS snippets completely; paid plans start at $49 per year (Basic, one site) for extras such as scheduled snippets. Prices checked 21 November 2026.
Install WPCode from Plugins → Add New, then go to Code Snippets → Add Snippet and choose the CSS Snippet type. Paste your rules, name the snippet clearly, choose where it loads, and save. Each snippet has its own on/off toggle, so you can disable a rule in one click instead of hunting through a long stylesheet.
WPCode also protects you from yourself: if a snippet contains an error that would break your site, its safe mode can deactivate it before it locks you out of the dashboard. That safety net is a big reason WPCode is a favourite way to learn how to add custom css to wordpress. The other advantage is portability: snippets live in the database independently of your theme, so your CSS survives a theme switch.
Method 4: Use GeneratePress Theme Settings for Site-Wide CSS
GeneratePress users asking how to add custom css to wordpress should start in the Customizer: it is a classic theme, so the path is Appearance → Customize → Additional CSS. The GeneratePress documentation confirms this as its recommended place for custom CSS.
Most GeneratePress visual settings — layout, colours, typography, spacing — already live in the Customizer, so use those first and reserve Additional CSS for what no setting covers. That keeps your custom code short and easy to review.
GeneratePress Premium adds the Elements module, where a Hook element holding a style block can load on every page, only posts, or only one category, using display rules. Elements is a paid add-on, so it only makes sense if you already use GP Premium. For most GeneratePress sites, this is all you need to know about how to add custom css to wordpress: the free Customizer box plus the theme’s own settings cover everything.
Method 5: Style a Single Block With a Custom CSS Class
Sometimes you do not want a site-wide change at all — just one button on one page to look different, or a single image to lose its border. That is what block-level CSS classes are for, and this is the most precise way to learn how to add custom css to wordpress for a single element.
Open the page in the block editor, click the block, and in the settings panel open Advanced to find the Additional CSS Class(es) field. Type a short, descriptive class name, such as no-img-border. Then add a rule targeting that class in your site-wide CSS — the Customizer box, your child theme, or WPCode:
.entry-content .no-img-border img {
    border: none;
}
The class travels with the block, so moving the block moves the styling, and you can reuse the class on other blocks to repeat the look. One caution: keep class names simple, lowercase, and free of spaces — a name with a space is actually two classes, and your rule will not match. That is a small detail, but it matters when you learn how to add custom css to wordpress one block at a time.
How to Add Custom CSS to WordPress: The 5 Methods Compared
This table sums up how to add custom css to wordpress at a glance. “Survives theme update” means your CSS is still there after you update the theme; “survives theme switch” means it still applies if you activate a different theme later.
| Method | Setup difficulty | Best for | Survives theme update | Survives theme switch | Cost |
|---|---|---|---|---|---|
| 1. Customizer Additional CSS | Very easy | A few quick tweaks | Yes | No | Free |
| 2. Child theme style.css | Medium | Large stylesheets, long-term projects | Yes | No | Free |
| 3. WPCode plugin | Easy | Organised snippets you can toggle | Yes | Yes | Free (Pro from $49/year) |
| 4. GeneratePress theme settings | Very easy | GeneratePress sites, site-wide rules | Yes | No | Free (Elements is a paid add-on) |
| 5. Block CSS class | Easy | Styling one block only | Yes | Depends on where the rule lives | Free |
No theme-based method survives a theme switch, because the CSS is stored against the theme. Only a plugin such as WPCode keeps your styles fully independent of it — worth remembering the next time you plan how to add custom css to wordpress for a site you may redesign.
Which Method Should You Choose?
If you are a beginner wondering how to add custom css to wordpress for the first time, start with Method 1, the Customizer’s Additional CSS box. It is built in, previews live, blocks broken code, and takes less than a minute to reach. Most small sites never need anything else.
If your CSS is growing past fifty lines, or you want your styles in version control, move to Method 2, a child theme — the setup takes longer, but professionals treat it as the permanent home for a large stylesheet. If you manage several sites, or want to switch rules on and off without deleting them, choose Method 3, WPCode; the free version is genuinely enough for CSS work. If you run GeneratePress, Method 4 is Method 1 done the GeneratePress way. And whenever the change belongs to a single block, Method 5 is the precise tool. The right answer to how to add custom css to wordpress always depends on the size of the change.
7 Common Mistakes to Avoid
Most people who learn how to add custom css to wordpress make at least one of these mistakes — avoid them and save yourself hours of debugging.
1. Editing the parent theme directly. This is the top way people lose custom CSS. Theme updates overwrite parent theme files completely. Use a child theme or one of the other four methods instead.
2. Using !important on everything. The !important flag forces a rule to win, but sprinkling it everywhere creates a stylesheet nobody can debug, including you in six months. Use it as a last resort, with a comment explaining why.
3. Writing CSS that breaks on mobile. A 900-pixel fixed width looks fine on a laptop and overflows badly on a phone. Test every change at phone width, and wrap desktop-only rules in a media query such as @media (min-width: 769px).
4. Copying random snippets without understanding them. A forum snippet can hide a broad selector that restyles your whole site. Read each rule, check what its selector targets, and test large changes on a staging copy first.
5. Forgetting the cache. After saving CSS, your site may still show the old design because a caching plugin or your browser serves a stored copy. Clear the cache and hard-refresh (Ctrl + Shift + R, or Cmd + Shift + R on Mac) before deciding your CSS did not work.
6. Targeting the wrong selector. Themes change class names between versions, so a selector that worked last year may match nothing today. Confirm the class name with your browser’s Inspect tool before you write the rule.
7. Leaving dead CSS behind. Old rules pile up and slow your troubleshooting. Review your custom CSS every few months, delete what no longer applies, and note what each remaining block does.
How to Test Your CSS Safely Before It Goes Live
A safe workflow for how to add custom css to wordpress has four steps, and works with every method here. First, find the right selector with your browser’s developer tools: right-click the element, choose Inspect, and read its class names. Second, test the rule live in the same Inspect panel — you can add or edit CSS and see the result instantly, without changing anything on your site.
Third, save the rule and check the preview at desktop, tablet and phone widths. Finally, clear your cache and check the live page in a private browser window, which shows what a visitor actually sees. If anything looks wrong, remove the last rule you added — the problem is almost always the most recent change. For larger redesigns, use a staging copy: many hosts offer one-click staging, so you can experiment with zero risk to visitors.
Frequently Asked Questions
Does adding custom CSS slow down my website?
No. A few dozen lines of CSS add far less data than a single unoptimised image. Performance problems come from heavy plugins, large images and slow hosting, not custom CSS. If speed worries you while learning how to add custom css to wordpress, our guide on how to speed up WordPress covers the fixes that move the needle.
Will my custom CSS survive a WordPress update?
Yes. Core updates never touch Additional CSS, child theme files or plugin snippets. Theme updates are the risk — and only for CSS written directly into parent theme files, which is why this guide to how to add custom css to wordpress steers you toward the five safe methods above.
Why is my custom CSS not working?
The usual causes, in order: caching, specificity, and a wrong selector. Clear your cache and hard-refresh first. Then check with the Inspect tool that your selector matches the element and no theme rule overrides yours. A missing bracket can also silence every rule after it — check the Customizer’s error warning.
Can I add custom CSS without a plugin?
Yes. The Customizer’s Additional CSS box and a child theme’s style.css need no plugin, and they are the two methods we recommend first. A plugin such as WPCode is a convenience for organising snippets, not a requirement for learning how to add custom css to wordpress.
Where is the Additional CSS option if I cannot find it?
On a classic theme: Appearance → Customize → Additional CSS. On a block theme: Appearance → Editor → Styles, in the three-dot menu. If you see neither, check you are logged in as an administrator — lower roles cannot edit CSS — and confirm which type of theme you are running.
The Verdict
Learning how to add custom css to wordpress comes down to one decision: where the code lives. For quick tweaks, the Customizer’s Additional CSS box is the fastest option. For a growing stylesheet, a child theme is the professional home. For toggleable snippets that survive even a theme switch, WPCode’s free version is hard to beat. Whichever method you pick, you now know how to add custom css to wordpress without risking your next update — just test in a preview first, and never edit parent theme files directly.