

Learning how to add AdSense to WordPress is when a hobby blog starts behaving like a business. AdSense is Google’s ad network: place a small piece of code on your site, Google fills the spaces with ads, and you earn when visitors see or click them.
This guide shows you how to add AdSense to WordPress from start to finish — site ready for review, connected with Site Kit, ads.txt published, first ads placed without breaking Google’s rules. Everything was checked against Google’s own help pages on 19 November 2026.
In this guide
- Before You Apply: Get Your Site Ready for AdSense
- How to Add AdSense to WordPress with Site Kit (Recommended)
- How to Add AdSense to WordPress Manually with the Code Snippet
- How to Add AdSense to WordPress with an Ad Management Plugin
- Which Method Should You Choose?
- Add Your ads.txt File
- Turn On Auto Ads and Place Your First Ad Units
- Common Mistakes and Policy Violations to Avoid
- Your First Ad Is Live: What to Expect Next
- Frequently Asked Questions
Before You Apply: Get Your Site Ready for AdSense
Google reviews every site before showing ads, so pre-application work matters more than the code. Its eligibility page lists four requirements: original, high-quality content that attracts an audience; site ownership plus HTML access; compliance with the AdSense Program policies; and an applicant aged 18 or over.
Notice what is not on that list: no minimum posts, word count, or traffic. Figures like 20 posts or 10,000 pageviews a month are guesses from other bloggers, not Google’s rules. Reviewers look for a finished, useful site — real articles, working navigation, and the essentials: About, Contact, and a Privacy Policy mentioning advertising cookies.
Brand new site? Focus on content and structure before you tackle how to add AdSense to WordPress: a dozen or more complete, original articles across your main topics, a clean theme, no broken links. We followed that order — hosting, build, then AdSense. Still starting out? Read How to Start a WordPress Website in 2026: The No-Regrets Setup Checklist first.
Two more things. Since June 2026, Google may ask you to verify your identity before your account can show ads or receive payments — apply with the Google account you want paid. And a review usually takes a few days but can take two to four weeks: plan for the slow end, and do not remove the code or resubmit while you wait, as Google warns that resubmitting can delay the review.
How to Add AdSense to WordPress with Site Kit (Recommended)
Google recommends Site Kit for anyone learning how to add AdSense to WordPress: its own free plugin, connecting your site to AdSense and placing the code on every page. You never touch a theme file, and the code survives theme updates.
Site Kit is free and open source, with 5+ million installs. It needs WordPress 5.2+, PHP 7.4+, a public site, and a working REST API. Current version: 1.192.0, checked 19 November 2026. Here is how to add AdSense to WordPress with Site Kit:
- In your WordPress dashboard, go to Plugins > Add New.
- Search for Site Kit by Google, then click Install Now and Activate.
- Click Start Setup, sign in with the Google account that owns your AdSense account, and let Site Kit verify you own the site.
- Go to Site Kit > Settings > Connect More Services, find AdSense, and click Set up AdSense.
- Follow the instructions to connect your AdSense account, and say yes when Site Kit asks to place the AdSense code on your site.
That last step puts the snippet in the head of every page, including new posts — never repeat it per page.
Connecting through Site Kit does not mean approval: your account and site still need review, and no ads display until both pass. Check under Site Kit > Settings > Connected Services > AdSense > Check your site status. “Ready” means approved; “Getting ready…” means the review is still running — leave the code in place.

One limitation: Site Kit places the code but cannot change settings inside your AdSense account. Turning on Auto ads, for example, happens in AdSense itself — covered below.
How to Add AdSense to WordPress Manually with the Code Snippet
The manual method is the second way to learn how to add AdSense to WordPress. Some owners prefer keeping the code under their own control. It works fine, and understanding it helps you troubleshoot Site Kit later — both methods put the same snippet in the same place.
First, get your code: sign in to AdSense, go to Ads > Get code (or add your site under Sites first), and copy the snippet — a short block of JavaScript identifying your publisher account.
Next, put the snippet in the head of every page using a snippet plugin such as WPCode: install it from Plugins > Add New, then paste the code into a header snippet set to run site-wide. Never paste it into theme files — updates wipe those edits, and one misplaced character can break your site.
Use one method only. A common error when people work out how to add AdSense to WordPress is installing Site Kit and pasting the code manually too, putting the snippet on the page twice. Duplicate code does not strengthen verification — it creates confusion about which copy is live. Pick one route, not both.
Then verify it: open your homepage, view the page source, and search for your publisher ID (it starts with pub-). Found in the head, the code is live. Not found, your cache may be serving an old copy — clear it and check again.
How to Add AdSense to WordPress with an Ad Management Plugin
Site Kit and manual code do the same job: getting the snippet onto your pages so Auto ads can work. Neither gives precise control over where individual ad units appear inside your content — that is the job of an ad management plugin such as Ad Inserter or Advanced Ads.
They insert units at exact positions — after the second paragraph, mid-article, or in the desktop sidebar — and exclude ads from pages such as your login page or a sales page where ads would distract visitors.
For a new site, the simplest way to approach how to add AdSense to WordPress is Site Kit plus Auto ads; add an ad manager later once you know which placements earn. The trade-off is complexity — another tool to learn and update. Keep your plugin count lean: every extra plugin taxes speed and security, as our guide to How to Speed Up WordPress: 12 Fixes Ranked by Impact, Not by Plugin Count explains.
Which Method Should You Choose?
All three end at the same destination: the AdSense code on your pages. Choose by how much control you want and how comfortable you are with WordPress.
| Method | Difficulty | Control | Best for |
|---|---|---|---|
| Site Kit by Google | Easy — no code | Low; Google decides placement with Auto ads | Almost everyone, especially beginners and first-time applicants |
| Manual code snippet (via WPCode) | Medium — copy and paste | Medium; you choose where the snippet runs | Owners who want the code under their own control without a Google plugin |
| Ad management plugin (Ad Inserter / Advanced Ads) | Medium to advanced | High; exact position, size, and page rules | Established sites optimising specific placements after approval |
Still deciding? Choose Site Kit: Google’s own recommendation for WordPress, free, and it removes the most common setup errors — code in the wrong place, lost in a theme update, or pasted twice. You can add manual units later; Site Kit does not lock you out of them.
Add Your ads.txt File
The ads.txt file tells advertisers which companies may sell ads on your domain. Google calls it highly recommended, not mandatory — but treat it as required: without it, AdSense warns your account and buyers pay less for unauthorised inventory.
A fact that surprises many WordPress users: Site Kit does not create your ads.txt file. It places the code; the file is a separate step. That is the most common gap in guides about how to add AdSense to WordPress — they connect Site Kit, declare the job done, and leave the ads.txt warning sitting in the dashboard.
Create a plain text file named exactly ads.txt (all lowercase) with one line:
google.com, pub-0000000000000000, DIRECT, f08c47fec0942fa0
Replace the zeros with your own publisher ID from AdSense under Sites. Never copy an ID from a guide or another site — it must be yours, or the authorisation points at someone else’s account.
Then put the file in your site’s root folder so it answers at yourdomain.com/ads.txt: upload via your host’s file manager or FTP to the folder holding wp-config.php; use the free Ads.txt Manager plugin by 10up under Settings > Ads.txt; or let Advanced Ads generate it. Afterwards, open yourdomain.com/ads.txt and confirm the line is there — a 404 means the wrong folder.
Turn On Auto Ads and Place Your First Ad Units
With your site connected and ads.txt in place, you can switch ads on — in two places, and beginners learning how to add AdSense to WordPress often do one and forget the other.
First, enable Auto ads under Ads > Auto ads in AdSense. Auto ads use one piece of code — the snippet Site Kit already placed — letting Google choose positions per page by layout and content. Site Kit cannot enable this; it is an AdSense account setting.
Anchor ads stick to the edge of the mobile screen; vignette ads appear as full-screen interstitials between page loads. Both can earn well and annoy readers, so start with both turned off, then test them once you have traffic data.
Second, consider one or two manual units in positions you control: in AdSense go to Ads > Ad units > Create new ad unit > Display ads, choose responsive size, and copy the unit code. Place it with your ad management plugin — or, with Site Kit alone, let Auto ads handle placement for now.
Getting placement right is the final skill in how to add AdSense to WordPress: never above your headline, never before the first paragraph, never more ads than content. Start with one unit after the second paragraph, one mid-article, one near the end. Keep ads away from menus, download buttons, and anything a visitor might tap by accident — Google treats those clicks seriously.
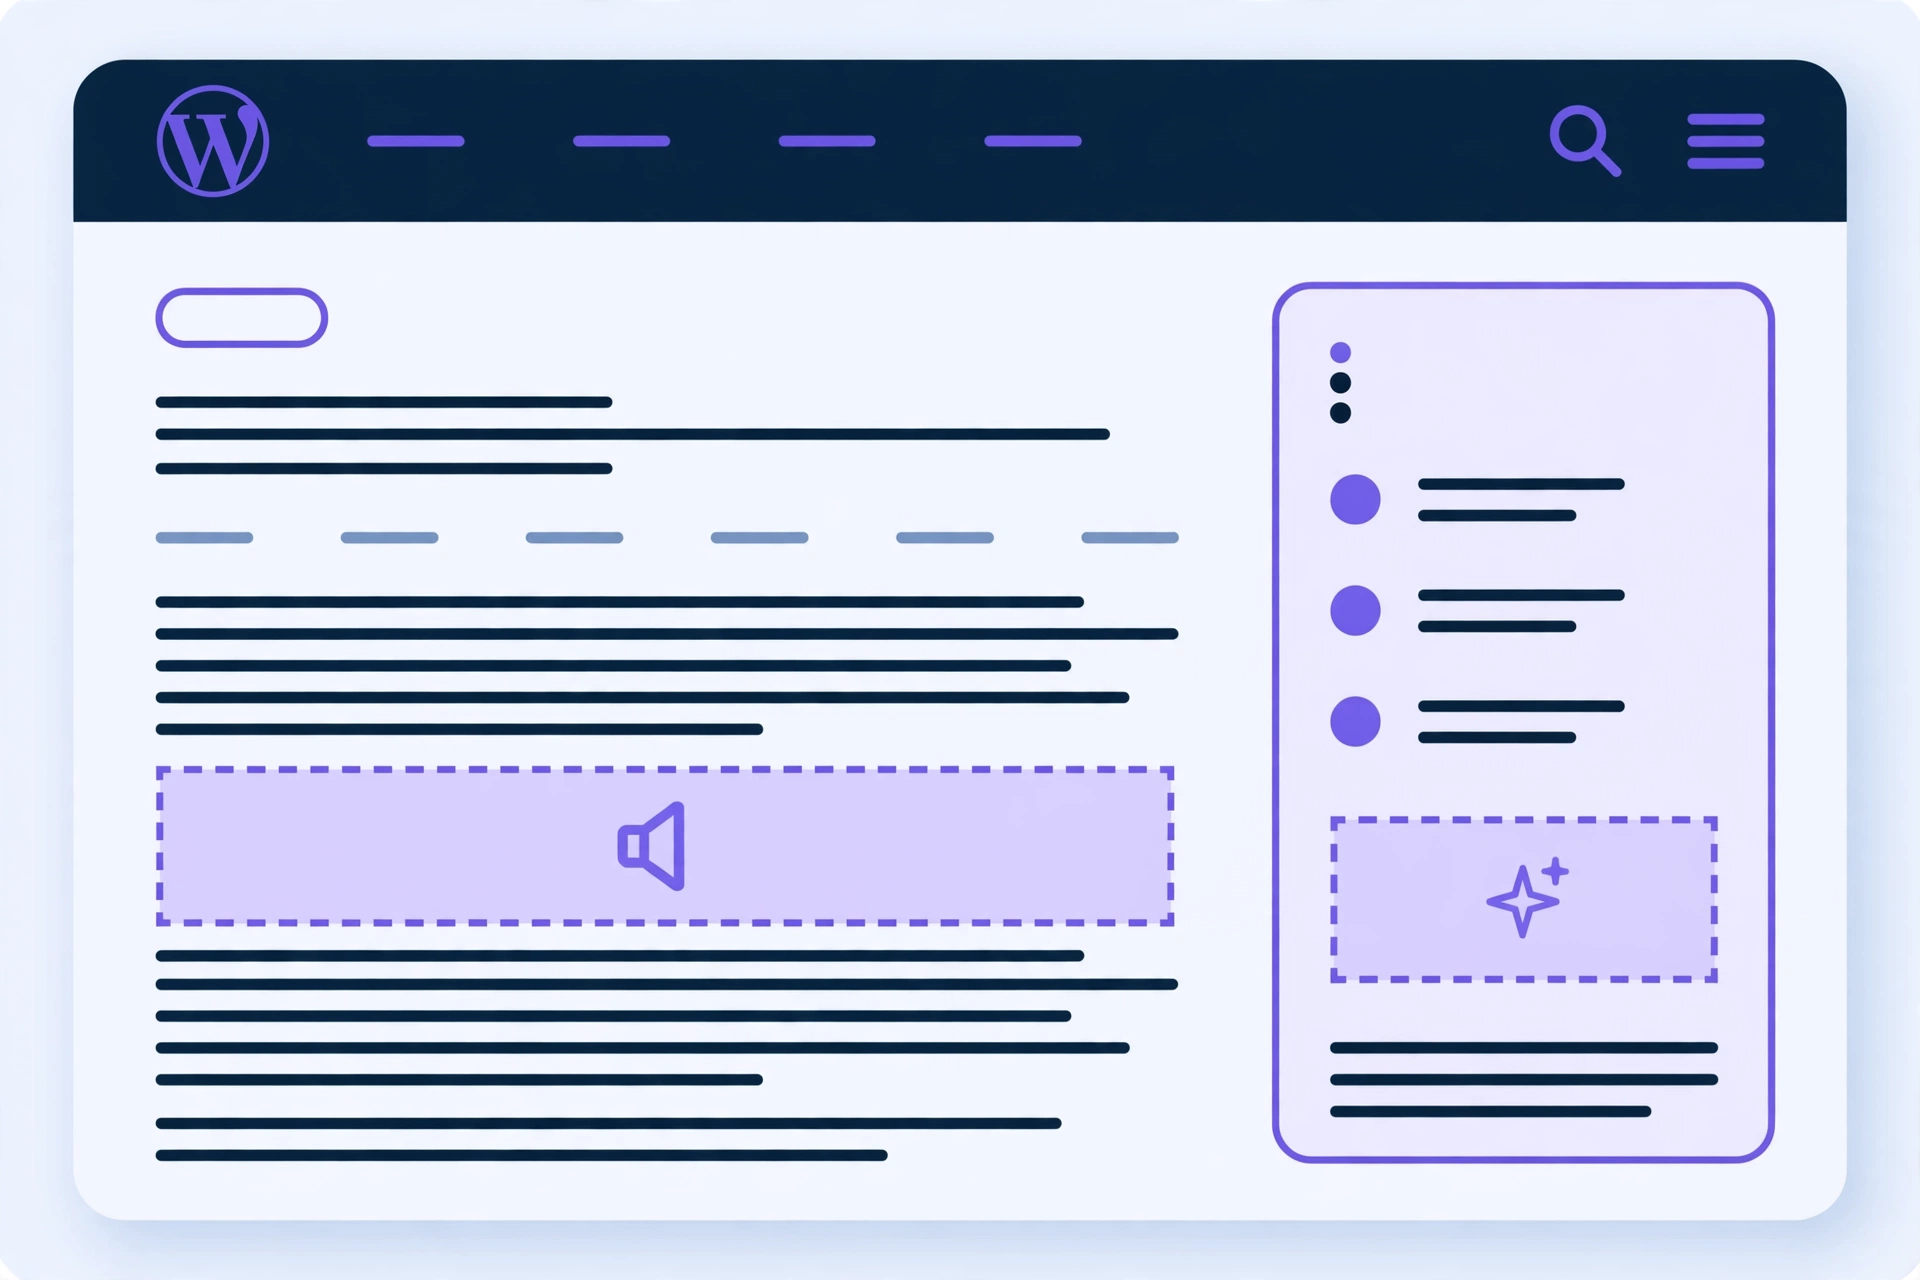
Ads also affect page speed — each ad is an extra request to Google’s servers. If pages slow down, caching, image compression, and a lean theme usually recover the difference. A slow site loses readers faster than ads earn from them.
Common Mistakes and Policy Violations to Avoid
Most AdSense restrictions come not from bad intentions, but from layouts that look harmless to the owner and deceptive to Google. These trip up anyone working through how to add AdSense to WordPress for the first time.
Clicking your own ads. Never click an ad on your own site, not even once to test it: clicking your own ads for any reason is prohibited, and a handful of clicks can trigger a review. To check ads display, look at the page as a visitor would — visible without a click.
Asking anyone else to click. Do not ask anyone to click your ads, or offer rewards for clicks or views. Incentivised clicks are a fast route to a restricted account, and Google detects the pattern easily.
Misleading labels. You may label a unit “Advertisement” or “Sponsored links” — not “Favourite sites” or “Today’s top offers”, or anything disguising an ad as content or navigation. If a visitor could mistake an ad for part of your site, the label is wrong.
Ads in the wrong places. AdSense code may not go in pop-ups, in emails, or on non-content pages such as your login, 404, or thank-you pages — nor on pages published specifically to show ads. Your pages must contain more content than ads: a 200-word post with four ad units is a policy problem, not a monetisation strategy.
Removing the code during review. While Google reviews your site, keep the code exactly where it is — removing it and resubmitting restarts the clock. The same applies to ads.txt: publish it before you request review. Also harden the site first: security holes or spam comments look neglected to a reviewer as well as to a visitor. Our WordPress Security Checklist: 15 Settings to Change on Day One covers the settings that matter most.
Applying before the site is ready. The most common rejection reason is an unfinished-looking site — thin posts, missing About or Contact pages, broken navigation, copied content. Fix the site first, then apply.
Your First Ad Is Live: What to Expect Next
Once you have finished learning how to add AdSense to WordPress and your account shows “Ready” with Auto ads on, ads should begin appearing. Do not panic if the first page looks empty: Google’s system takes time to serve a newly approved site, and your own ad blocker hides ads from you. Check in a private window with extensions disabled first.
Earnings start small — normal. Since early 2024, AdSense pays per impression rather than strictly per click, so traffic volume matters as much as click rates. Google finalises earnings early in the month; the payment threshold is $100 or the local equivalent. Reach it by the 20th and payment is usually issued between the 21st and the 26th. You will not get rich in month one, but you will have real data on which pages earn — and that tells you what to write next.
Keep publishing: the fastest way to grow AdSense income is more useful pages earning from the same setup, not more units on the same pages. Before you scale, make sure your backup routine is solid — a site that earns is worth protecting. Our WordPress Backup Guide: The 3-2-1 Setup That Actually Restores shows how to test a restore before you need one.
Frequently Asked Questions
How long does it take to add AdSense to WordPress?
The setup for how to add AdSense to WordPress takes under an hour: install Site Kit, connect your account, publish ads.txt. The slow part is Google’s review — usually a few days, sometimes two to four weeks. Keep the code in place and keep publishing.
Do I need Site Kit to add AdSense to WordPress?
No, but it is Google’s recommended route for how to add AdSense to WordPress. You can paste the code manually with WPCode, or use an ad manager like Ad Inserter. Site Kit is simply easiest: free, official, and it places the code on every page without theme edits.
Why are my AdSense ads not showing on WordPress?
If you followed the steps for how to add AdSense to WordPress and still see no ads, check four things: is your account approved (“Ready” under Site Kit > Settings > Connected Services > AdSense)? Is Auto ads on in AdSense? Is the code on the page — view the source and search for your publisher ID? Is a cache serving an old page, or your ad blocker hiding ads? Clear the cache and test in a private window.
Do I need ads.txt to add AdSense to WordPress?
Google calls ads.txt highly recommended rather than mandatory, and how to add AdSense to WordPress does not require it for review. But without it, AdSense flags your account and advertisers pay less. Publish it before requesting review — Site Kit does not create it, so upload it to your root or use Ads.txt Manager.
Can I add AdSense to a free WordPress.com site?
No. A free WordPress.com site blocks plugin installs and code edits, and AdSense needs one of those. You need a self-hosted WordPress.org site to follow the steps for how to add AdSense to WordPress. Still choosing hosting? Our ranking of the Best WordPress Hosting in 2026: 7 Hosts Ranked by Real Cost, Not Intro Prices compares the real three-year cost of the leading options.
Conclusion
Now you know how to add AdSense to WordPress from start to finish: prepare a finished, original site; connect it with Site Kit; publish ads.txt; switch on Auto ads; place manual units only where they help readers. Setup takes under an hour — the review takes patience.
Approval is the starting line, not the finish. Get the foundation right once, and how to add AdSense to WordPress becomes a one-time setup paying off with every article you publish. The sites that earn keep publishing useful content, keep pages fast, and respect the placement rules keeping their accounts in good standing.