
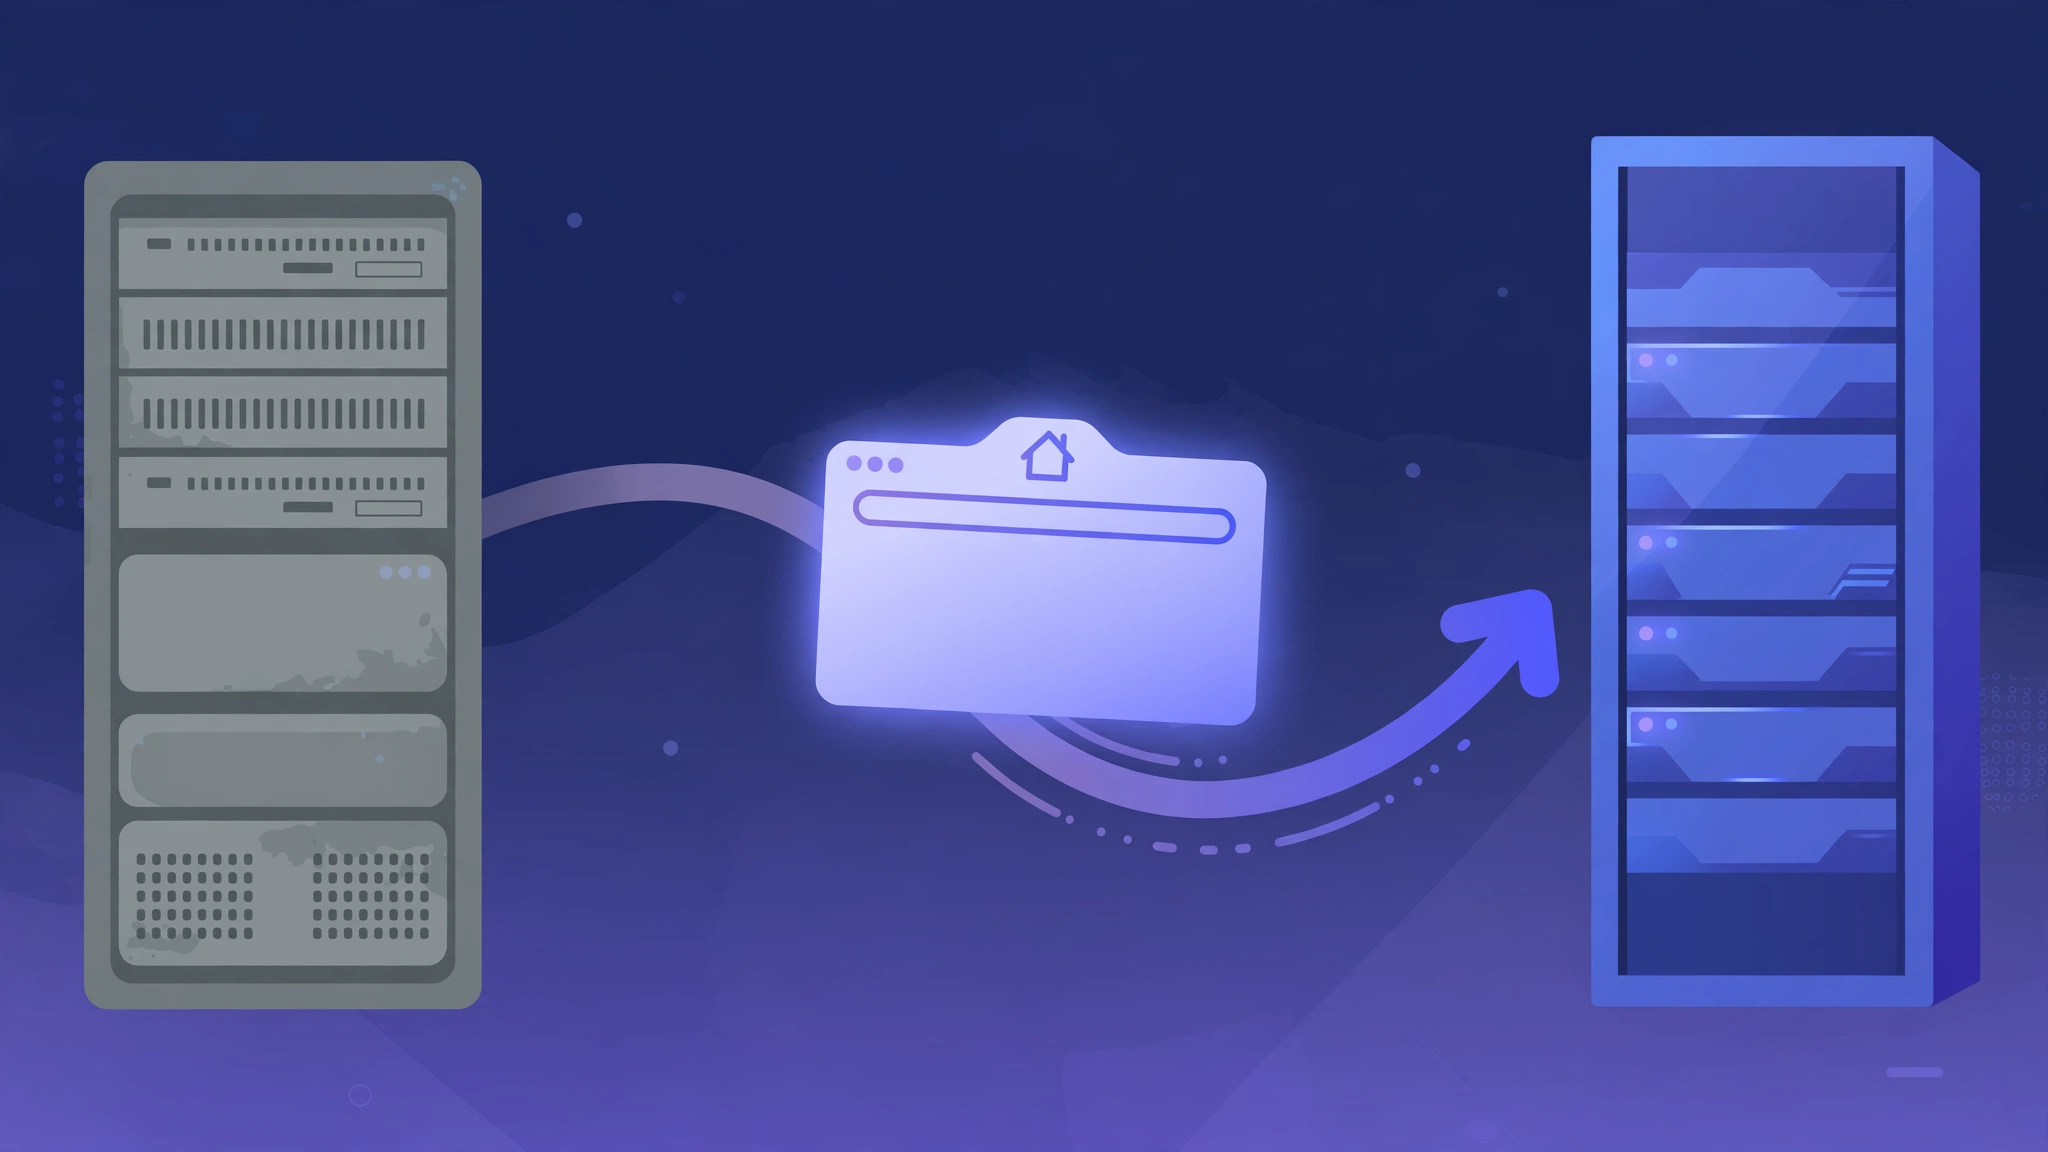
Your renewal price just doubled, support has gone quiet, or your pages load slowly. You need to migrate WordPress site to new host before the next bill lands, but the thought of a blank screen or a day of downtime keeps you from starting.
Good news: a careful move does not take your site offline. When you migrate WordPress site to new host with the sequence below, visitors keep seeing the old site while you build and test the copy, and the switch itself takes minutes. Prices checked 19 November 2026; current WordPress version is 7.1.5 (released 18 November 2026).
In this guide
- What zero downtime really means
- The 48-hour checklist before you touch anything
- How to pick a migration method and plugin
- The step-by-step zero-downtime sequence
- DNS timing and testing
- Who should not use the plugin method
- After the switch: checks that catch silent failures
- Frequently asked questions
What Zero Downtime Really Means When You Migrate WordPress Site to New Host
Zero downtime does not mean the move happens instantly. It means visitors never see a broken or missing site while the work happens.
The old host keeps serving your live site until the last step. Meanwhile, when you migrate WordPress site to new host, you copy everything to the new host, test the copy on a temporary address, and only then point your domain at the new server. If something looks wrong on the copy, you fix it while the old site is still live.
There is one honest limit. While DNS updates spread, some visitors may still reach the old server while others reach the new one. That is harmless if both copies are identical and the old one stays online for a day or two.
The 48-Hour Checklist Before You Migrate WordPress Site to New Host
A smooth move is decided before the copy starts. Before you migrate WordPress site to new host, give yourself two days.
Lower your DNS TTL now
TTL tells the internet how long to cache your DNS record. With a common default TTL of 3,600 seconds, some visitors keep reaching the old server for up to an hour after you switch. With an old TTL of 86,400 seconds, that wait can stretch to a full day. Lower the TTL on your A record to 300 seconds at least 24 to 48 hours before the move.
The old TTL governs how long cached copies linger, so lowering it on the day itself achieves almost nothing. Raise it back to 3,600 seconds once the new server is stable.
Check the new host can run your site
WordPress recommends PHP 8.3 or greater and a database of MySQL 8.0 or greater, or MariaDB 10.11 or greater, with HTTPS on every install. Older versions still run but have reached end of life and may expose your site to security problems.
Confirm the new host offers PHP 8.3 or newer, MySQL 8.0 or MariaDB 10.11 or newer, and a PHP memory limit of 256 MB or higher. If you are still choosing, our roundup of the best WordPress hosting in 2026 compares the leading options on speed, support, and renewal pricing.
Back up everything and gather logins
Make a complete backup of files and database on the old host, and download a copy to your own computer. A migration plugin makes its own copy, but a separate backup is your safety net.
Write down every login you will need: old hosting panel, new hosting panel, domain registrar, WordPress admin, and email settings. Nothing stalls a migration faster than a password reset going to an inbox you cannot reach.
Freeze changes
Pick a quiet window for the switch. Tell anyone who edits the site to stop publishing or taking orders from the moment the copy starts until you confirm the switch is done. Any change made on the old site after the copy is taken will not exist on the new one.
How to Pick a Migration Method to Migrate WordPress Site to New Host
You have three ways to move: a migration plugin, your new host’s free migration service, or a manual move with FTP and phpMyAdmin. For most owners, a plugin is right. It is faster than a manual move, and you control the timing, which matters when you are escaping a renewal hike. Many hosts offer a free professional migration, but their team works on its own timetable, and you may wait days.
If your renewal date is close, a plugin lets you move today.
| Plugin | Free version | Paid price (from) | Free-tier catch | Best for |
|---|---|---|---|---|
| All-in-One WP Migration | Full export and import | $69/year (Unlimited Extension, 50 sites) | Import size limited by host upload limit, often ~512 MB | Beginners, small to medium sites |
| Migrate Guru | Full move, sites up to 200 GB | Free, no paid tier | 5 sites per user per month; both sites must be public | Large sites, free |
| UpdraftPlus | Manual backup, download, restore | $70/year (Premium, 2 sites) | One-click migration is Premium-only | Owners who want scheduled backups |
| Duplicator | Full archive plus installer | $79/year list (Basic, 2 sites) | No staging or multisite in free version | Hosts with no WordPress yet |
| WP Migrate Lite | Database export, full-site ZIP | $49/year introductory; $99/year list | Push/pull is paid; files need Plus | Developers syncing environments |
All prices are in US dollars, checked on 19 November 2026. Confirm the live and renewal price at checkout, because vendors run introductory discounts.
When you migrate WordPress site to new host on a tight budget, the free tier is usually enough. All-in-One WP Migration’s Pro bundle costs $99 per year and adds cloud storage. Its vendor states the free plugin imposes no size limit of its own; the limit comes from the host’s PHP upload settings. Migrate Guru is genuinely free, runs the transfer on BlogVault’s own servers, and handles sites up to 200 GB. It cannot move a localhost site or a multisite network.
UpdraftPlus Premium starts at $70 per year for 2 sites, with tiers at $95, $145, and $195. A standalone Migrator add-on price of $30 per year appears in older guides, but that price was not confirmed on the vendor site on 19 November 2026, so treat it as unverified. Duplicator Pro Basic lists at $79 per year for 2 sites, though some earlier 2026 listings showed $99, so confirm at checkout. WP Migrate is built for developers: Standard is $99 introductory against $149 list, Plus is $189 against $249, and Premier is $219 against $299, with renewals at list price.
How to Migrate WordPress Site to New Host Without Downtime: The Step-by-Step Sequence
Follow these steps in order. Do not skip ahead to the DNS change, and do not cancel anything until the final check passes.

Step 1: Set up the new hosting account
Buy the new plan and install a fresh WordPress on it. Use a temporary address from the host, not your real domain yet. Confirm PHP 8.3 or newer and working HTTPS. If you are new to this, our guide on how to start a WordPress website covers a clean install.
Step 2: Install the same plugin on both sites
Install your chosen plugin on the old site and on the fresh install. When you migrate WordPress site to new host, use the same plugin on both ends. Mixing tools mid-move is a common cause of broken imports.
Step 3: Export from the old host
Run the export on the old site. All-in-One WP Migration produces a single .wpress file with files, database, themes, and plugins. Migrate Guru pushes the copy across on its own servers. Duplicator builds an archive plus a small installer file. Wait for the export to finish completely.
Step 4: Import on the new host
Upload the export file to the new install and run the import. The plugin rewrites your site address in the database, so links and images point at the new location. With Duplicator, upload the archive and installer, visit the installer in your browser, and let it rebuild the site.
If the import stalls, check your new host’s upload limit first.
Step 5: Test the copy on the temporary address
Test everything while the old site is still live. This testing step is what makes it safe to migrate WordPress site to new host: log in to the new copy’s admin area and click through the homepage, a post, the contact form, and the checkout if you sell anything.
Update the copy to WordPress 7.1.5 before you switch.
Step 6: Fix what the test finds
A missing image usually means a hard-coded old address in a widget or theme setting; update it on the new copy. A white screen often means a plugin conflict; deactivate plugins one at a time on the copy until the site returns.
Do not fix problems on the old site. Fix them on the copy. The old site is your fallback and should stay exactly as it was until you migrate WordPress site to new host and confirm the move.
Step 7: Point DNS at the new host
When the copy passes every test, update your domain’s A record to the new server’s IP address. This is the only step that changes what visitors see, and it takes minutes. Keep your TTL at 300 seconds. Leave the old hosting account running for at least 48 hours. Do not cancel it or delete files yet.
Step 8: Confirm the switch
Wait a few hours, then check your site from a fresh browser session and from your phone on mobile data. Confirm the new server is answering in your host’s dashboard. Only when every check in the next section passes should you cancel the old plan.
If the renewal date is why you migrate WordPress site to new host, compare what you escaped. Our guide to WordPress hosting renewal prices shows how sharply introductory prices rise at renewal.
DNS Timing and Testing When You Migrate WordPress Site to New Host
DNS is where most migrations feel scary. When you migrate WordPress site to new host, the DNS change itself is a one-minute edit. The waiting comes from caching, controlled by the TTL you set days earlier.

Two days before you migrate WordPress site to new host, lower the A record TTL to 300 seconds. Wait at least 24 hours so the old, longer TTL expires from caches worldwide. On moving day, test the copy, then change the A record to the new IP address. With a 300-second TTL, most visitors reach the new server within five to ten minutes; a few resolvers enforce their own minimum caching, so some may take up to an hour.
Changing name servers at your registrar instead is slower. It depends on the registry delegation TTL, which you do not control, and can take a few hours up to 48 hours. Edit the A record and leave the name servers alone.
Test from more than one network. Use an online DNS checker to confirm the new IP address is visible worldwide. Visit your site from a device that has never loaded it, or from mobile data. Never trust a single check from your own computer: your computer, router, and provider can all cache the old record. After the new server is stable for 48 hours, raise the TTL back to 3,600 seconds.
Who Should Not Use the Plugin Method
Plugins handle most moves, but not all. Be honest about your situation before you start.
Do not use a plugin move for a WordPress multisite network unless the plugin explicitly supports it. All-in-One WP Migration needs its Multisite Extension, priced at $319 per year, and Migrate Guru does not support multisite at all. Leave a network move to your host’s migration team.
Do not use it for a store that takes orders every few minutes. The copy you export is a snapshot, and any order placed on the old site after that snapshot will not exist on the new one. For a busy store, put the old site into maintenance mode briefly at the moment of the copy, or pay for a managed migration.
Do not use it if either site is unreachable from the public internet, or if your site is already hacked. Migrate Guru needs to reach both ends, so it cannot move a localhost site to a live server, and a migration copies an infection to the new server. Clean it first. Our WordPress security checklist covers the settings to change on day one.
Finally, do not use a plugin as a substitute for a backup. A migration tool moves your site; it does not protect it. Keep a separate backup before and after the move.
After the Switch: The Checks That Catch Silent Failures
The site loads, so the move must be done. Not quite. Run these checks in the first 24 hours, because the failures that matter most are the quiet ones. They matter most right after you migrate WordPress site to new host, while the old copy still exists.
Send a test message from every contact form. Check email deliverability, because a new server often means new mail settings. Log in to WordPress admin and confirm you can save a post. If you run a store, place a test order and refund it.
Check speed on the new host. A faster server is one of the main reasons people move, so measure it. Our guide on how to speed up WordPress lists twelve fixes ranked by impact.
Look at your analytics and Search Console for a sudden traffic drop or a spike in crawl errors. A small dip on the day of the switch is normal. A sustained drop, or a wave of 404 errors, means a redirect or permalink setting is wrong. Open Settings, then Permalinks, and save them again; that rebuilds the rewrite rules.
Confirm your SSL certificate is valid and every page loads over HTTPS. Then confirm scheduled tasks run: publish a scheduled test post or check that your backup plugin ran on schedule. Keep the old account for a week; rolling back is a DNS change away.
Frequently Asked Questions
How long does it take to migrate WordPress site to new host?
The hands-on work takes one to three hours for a typical blog or business site: export, import, testing, and the DNS change. The full job takes two to three days, because the TTL change needs 24 to 48 hours before the switch, and you should keep the old host running for 48 hours after it. That is the real time cost when you migrate WordPress site to new host properly.
Can I migrate WordPress site to new host for free?
Yes. Migrate Guru is free with no paid tier and handles sites up to 200 GB. All-in-One WP Migration is free for small to medium sites, limited only by your host’s upload limit. UpdraftPlus free can migrate by the manual backup-and-restore route. You only pay if your site is large or you need multisite support.
Will my site go down during the move?
Not if you follow the sequence in this guide. Your old site stays live while you build and test the copy, so visitors see no interruption. The only risk window is the short DNS transition, when some visitors may briefly reach the old server and others the new one. Both copies are identical, so nobody sees an error. That is the whole point of how you migrate WordPress site to new host without downtime.
Can I migrate WordPress site to new host without a plugin?
Yes. Copy the files by FTP, export and import the database with phpMyAdmin, update wp-config.php with the new database details, and run a search-and-replace on the old address. It works, but it is slower and easier to get wrong than a plugin move. Use the manual method only if no plugin will run on your host.
Do I need to update anything in WordPress after the move?
Usually very little, because a good migration plugin rewrites your site address in the database. Still, check Settings, then General, to confirm both addresses are correct. Save your permalinks again. Check any widgets, theme settings, or plugins that store a full address, and update the ones the plugin missed. Then run a full backup on the new host.
Conclusion
Moving hosts feels risky because your website is your business or your store, and the renewal letter gave you a deadline you did not ask for. But the process is straightforward once you separate the copy from the switch: build the copy, test it, and only then change DNS.
Now you know how to migrate WordPress site to new host without downtime: lower the TTL two days early, pick the plugin that fits your site’s size, export and import on a temporary address, test every page that matters, and switch DNS only when the copy passes. Keep the old host running for a few days, run the after-switch checks, and then cancel the old plan with confidence.
Start with the numbers, not the marketing. Compare renewal prices, check the PHP and database versions, and choose a host that will still be fairly priced next year. Then migrate WordPress site to new host on your own schedule.
1 thought on “How to Move a WordPress Site to a New Host Without Downtime”